
By Heinz Richter
It used to be the case that view cameras were an essential part among the equipment of professional photographers. They offer advantages that other cameras simply don’t have. Digital image manipulation software like Photoshop or Lightroom have enabled photographers to compensate for the shortcomings of not using a view camera in post production.
However, post production is time consuming and not to the liking of everyone. Even though most image manipulation software is relatively easy to do, it still has a considerable learning curve, especially when it comes to more complicated operations like correcting for not using a view camera.
View cameras are capable of a variety of things that otherwise are difficult to overcome. For instance, they allow adjustments to eliminate converging or diverging lines in a photograph. Tall buildings will never be correctly shown in a photograph taken with a conventional camera. The sides of the building will be converging toward the top. The view camera adjustments do allow correcting for that.
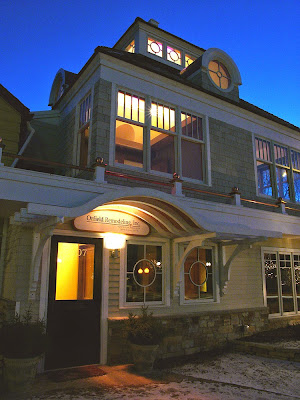
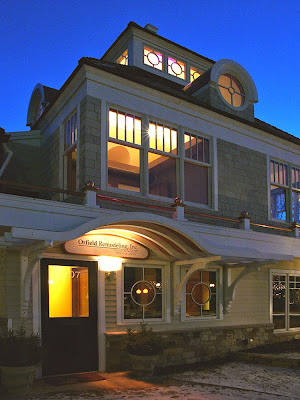


Converging lines View Camera corrected
Anyone who is interested in close up work will quickly become aware that enough depth of field is hard to come by. Sure, we can stop down our lenses to increase depth of field, but that inevitably will cause shutter speeds to be slowed down. While this is not a problem with inanimate subjects, close up photography out doors will quickly show how limited stopping down a lens can be, especially on windy days. Here too the adjustments of a view camera can solve the problem easily,
Let’s take a closer look. In order to photograph a tall building, it is necessary to tilt the camera upwards. This the very reason for the converging lines. The only time this will not be the case is when the film or sensor plane is parallel to the subject. But that would cut off the top of the building. Instead of tilting the camera, a view camera will allow to keep the film plane parallel to the building and still get the upward view by raising the lens.
To correct for lack of depth of field is a little bit more complicated. Let’s look at a simply product photograph. Since the film plane is not parallel to the subject plane, the lens must be stopped down considerably to gain enough depth of field. A view camera, on the other hand, allows the application of the Scheimpflug principle. It is named after Austrian army Captain Theodor Scheimpflug. He found that by changing the position of the film or sensor plane (the focal plane) and that of the lens, a large number of problems could easily be solved.
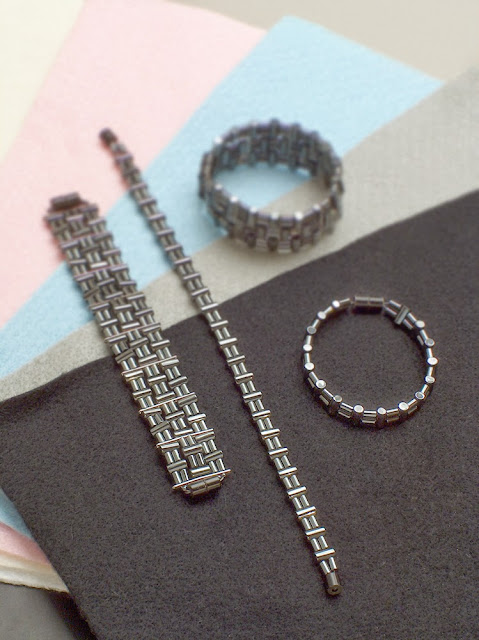
In this example, depth of field is a definite problem. Using a very small aperture is not necessarily the answer. We must remember that camera lenses do not perform evenly at all apertures. Especially stopping down beyond a certain f/stop will be accompanied by a deterioration of the image. Applying the Scheimpflug principle will allow to use the aperture range at which the lens performs best. This entails to tilt the lens, the focal plane or both in such a manner that the lens plane, the subject plane and the focal plane all intersect at the same point. When that is the case, we will have virtually unlimited depth of field, or so it appears. Effectively what happens is that by using these movements, we actually tilt the plane of focus to be the same as the subject plane.
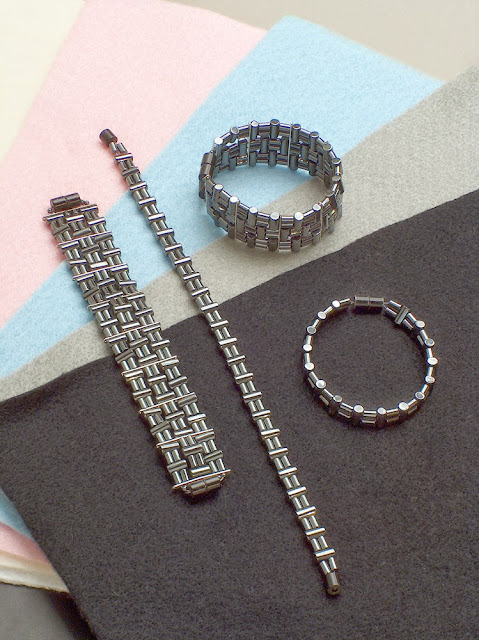

Tilting the lens such that its plane intersects with the intersection point of the subject
plane and the focal plane will render seemingly unlimited depth of field.

In this photograph by Ansel Adams the same principle was applied to gain sufficient depth of field.
The same applies with close up photography in nature. Here too all we need to do is determine the subject place and adjust the lens and focal plane accordingly. Stopping down the lens will then gain enough depth of field for any subject matter that is not within the subject plane.
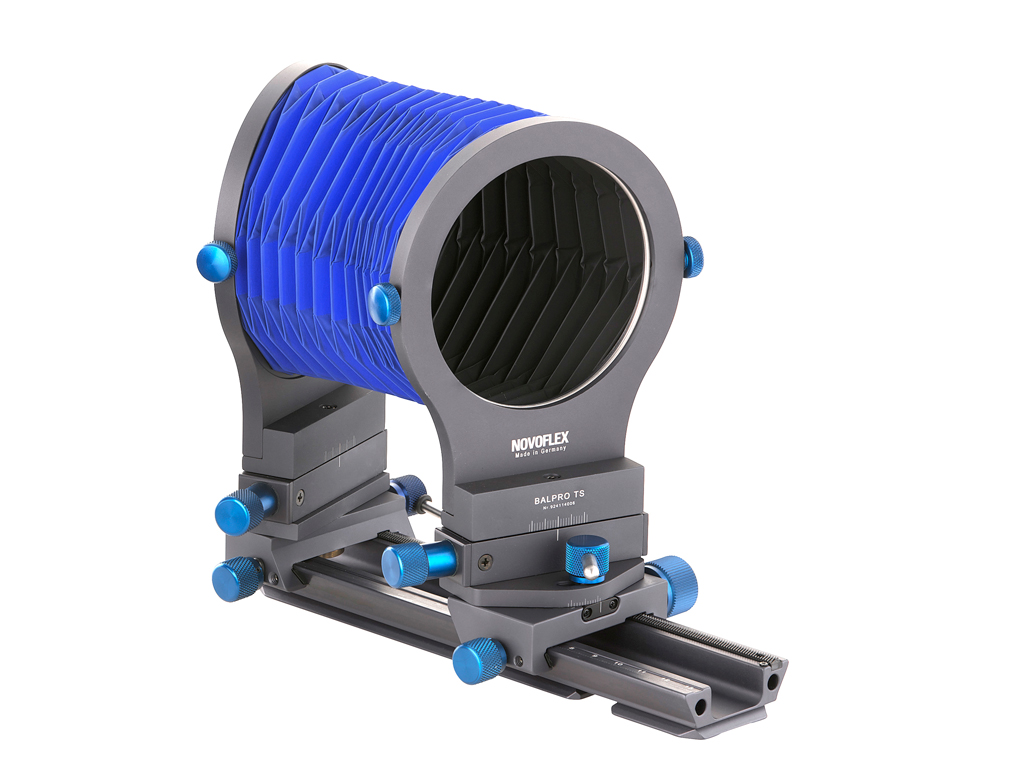
Of course this brings up the question of how this applies to Leica equipment. Any of the Leica SLR cameras and any of the Leica M-series cameras with live view can easily be converted to a small view camera with the Novoflex bellows BALPRO T/S or CASTBAL T/S. Both will convert a camera into a small view camera. Both offer adapters for a large variety of cameras as well as lenses. In addition Novoflex offers a lens, specially designed for use with the view camera movements. This is the SCHNEIDER KREUZNACH Apo DIGITAR 4,5/90mm. It is optimized for digital cameras. The focusing range allows photography from infinity to 1.2x magnification with 35mm or full frame cameras and up to 1.8x magnification with APS-C cameras.

Novoflex Balpro T/S

Novoflex Balpro T/S

Novoflex Castbal T/S
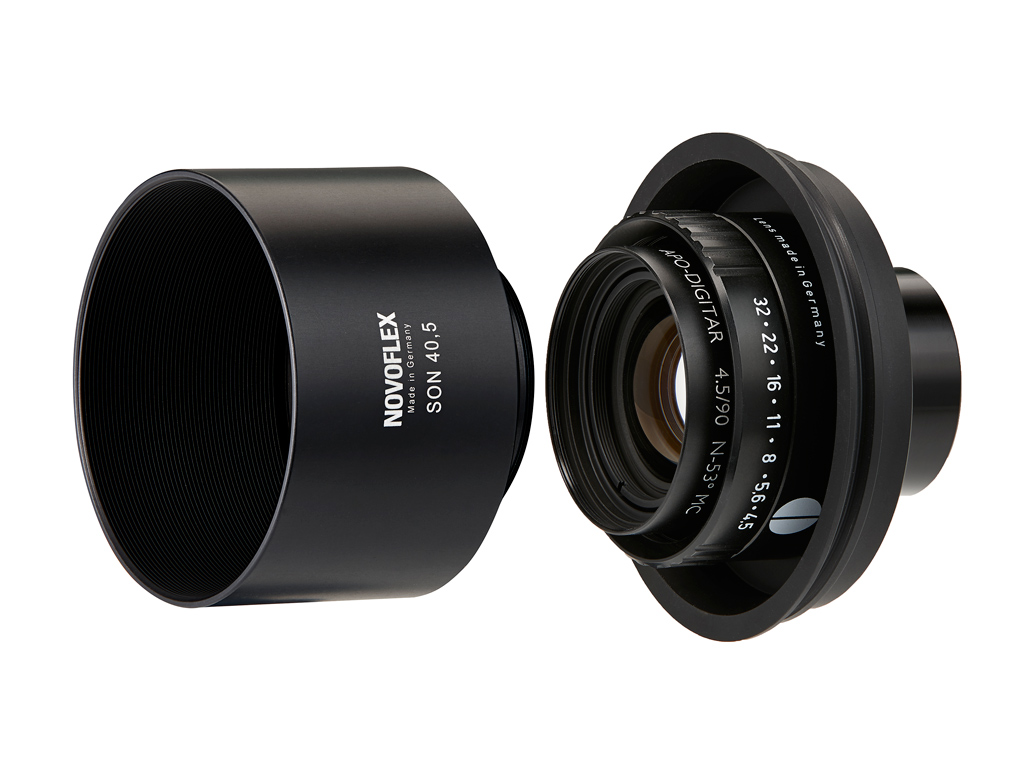
Schneider Apo-Digitar 90mm f/4.5
The lens is supplied with the mounting adapters and a lens shade
The capabilities of a view camera go far beyond these few examples, but this article was not meant to be an instruction manual for their use. Instead it is just an introduction to show some of the capabilities of these cameras, all of which allow photographs to be corrected prior to pressing the shutter release and thus eliminating any time consuming post production work. For myself, I rather take photographs than sitting at a computer making up for problems that could easily have been taken care of prior to shooting.
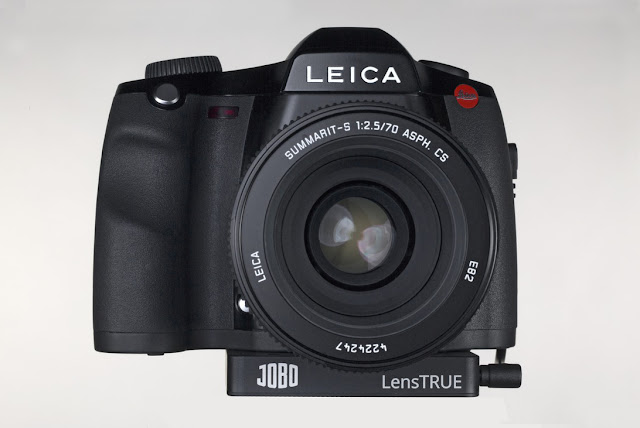
However, as with so many other things these days, electronics often offer an alternative to conventional approaches. This is also the case with perspective distortion correction. One such digital accessory is the LensTRUE System by JOBO. It promises an alternative to adjustable cameras and offers technically perfect images without distortion and vignetting. The Lens TRUE System is accompanied by the Lens TRUE System M, designed for medium format digital cameras.

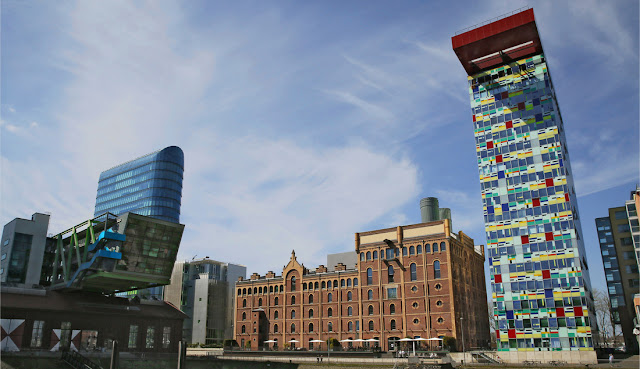
Every photographer knows the problem of perspective distortion. Modern image manipulation software allows some corrections but in most cases these corrections are cumbersome and time-consuming. They still render wrong proportions as all these corrections are made only by hand and rely on visual approximation. Even with Photoshop’s “perspective control” features the most you can achieve is rendering that is only similar to the real proportions.
Unlike the equalization or correction of perspectively distorted image with the use of mechanical shifts or conventional image editing software the LensTRUE system solves the problem by combining hardware and software.
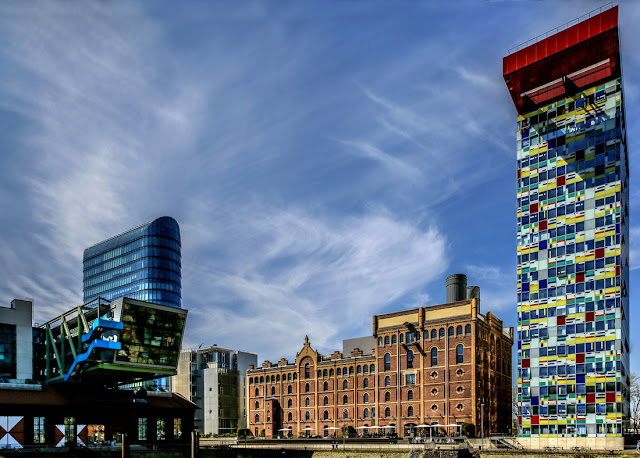
The LensTRUE System consists of an electronic inclinometer (LensTRUE meter) to measure and register the angular position. In a second step the RAW files are combined with the meter data in the correction software (LensTRUE final) and descewed automatically in both levels. Even photographs without reference lines and without perpendicular objects are corrected to the real proportions even when the horizon is not aligned.
The prerequisite for the use of LensTRUE is a sensor resolution of eight megapixels. However, the higher the sensor resolution, the more the camera can be angled. The limit of the automatic correction with LensTrue is 35 degrees. In practice, the inclinometer is mounted on a tripod and connected to the camera. The inclinometer records the data of the camera position in every shot. The LensTRUE Software writes the information gained in the metadata of the image file and uses it for the perspective correction. The image information is automatically corrected, however, the correction by LensTRUE leads to a change of the image format.
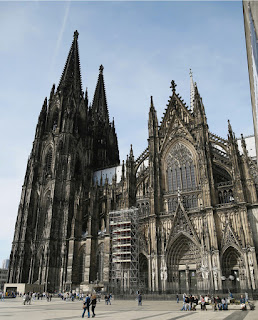
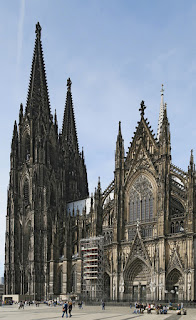
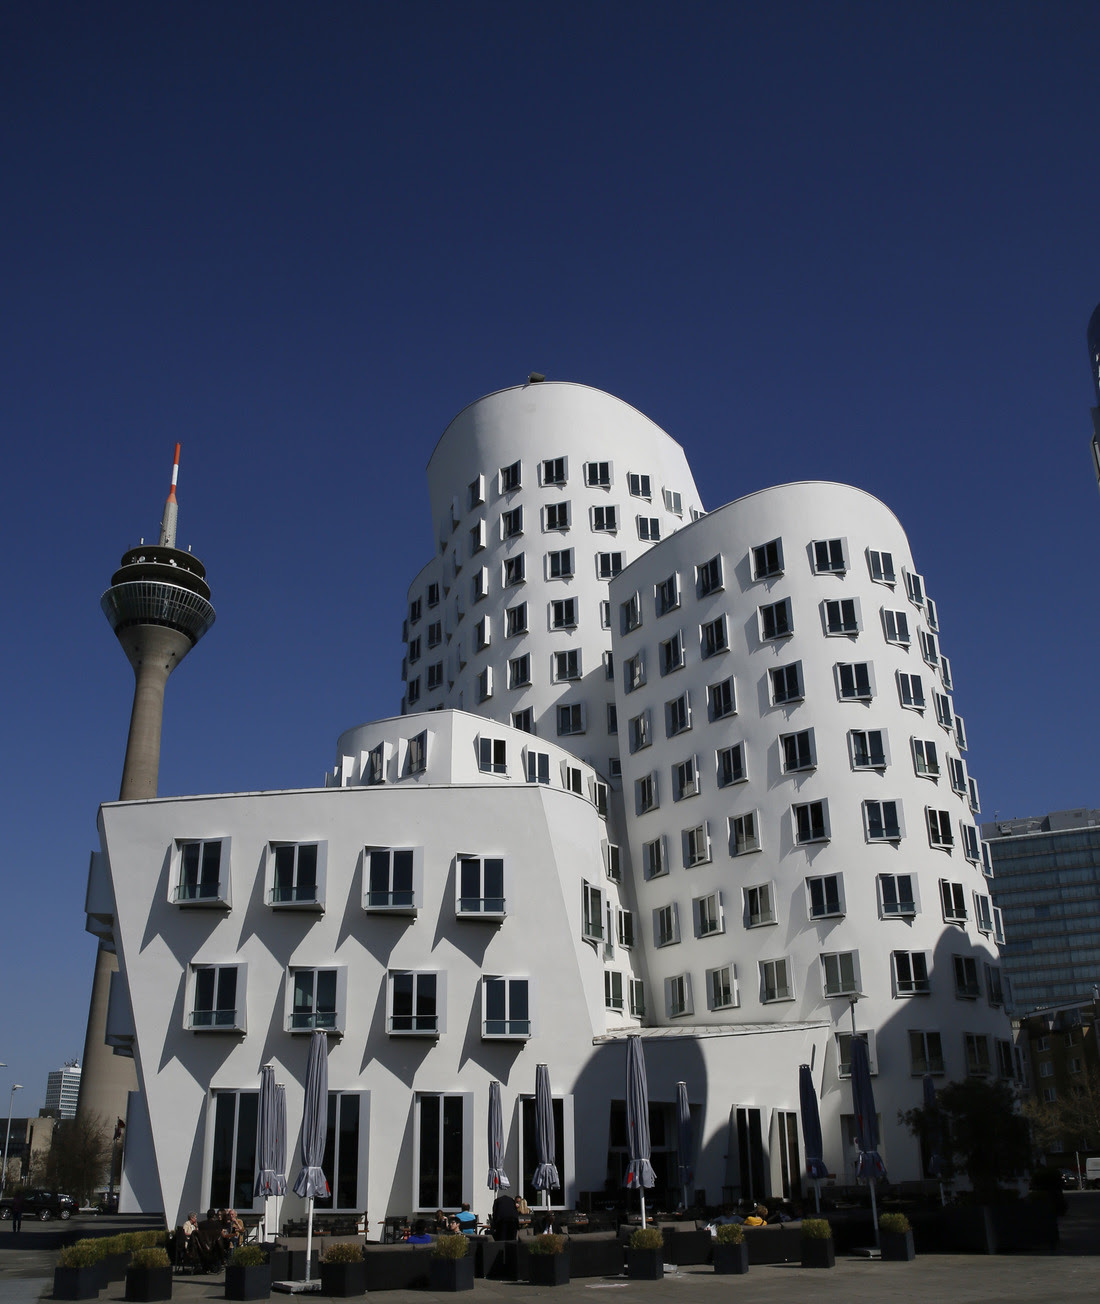

In a sense LensTRUE transforms all your lenses into shift lenses – even the zoom lenses! This means you can use any focal length and you can shoot without a tripod – and still attain proportionally correct images formerly only achieved by using special Tilt & Shift Lenses.
LensTRUE opens up a new world of possibilities for photo production of architecture, industry, art objects, stills, fashion or beauty, all the way to portrait photography. With LensTRUE you can unleash your creativity in a new way without either limiting yourself to the central perspective or accepting perspective distortions.
For more information go to JOBO
For other articles on this blog please click on Blog Archive in the column to the right
For other articles on this blog please click on Blog Archive in the column to the right
To comment or to read comments please scroll past the ads below.
All ads present items of interest to Leica owners.
_______________________________________________________________________
All ads present items of interest to Leica owners.
_______________________________________________________________________
Buy vintage Leica cameras from America's premier Leica specialist
Buy vintage Leica cameras from
America's premier Leica specialist
Click on image to enlarge
Click on image to enlarge
Click on image to enlarge
Click on image to enlarge
Click on image to enlarge
Click on image to enlarge


Good day, You wrote "The focusing range allows photography from infinity to 1.2x magnification with 35mm or full frame cameras and up to 1.8x magnification with APS-C cameras." That's not correct. Magnification is independent of sensor size (or film format). I obtain 1:1 magnification with my Novoflex BAL-S Bellows and a Schneider-Kreuznach M-Componon 80mm lens. When I attach a Leica M, 1:1 magnification allows me to capture an object of 24mm x 36mm in life size. When I attach a (digital) Leica CL, 1:1 magnification allows me to capture an object of 15.7mm x 23.6mm in life size. Magnification has not changed. Senosor size only determines the size of the object that will be covered at a given magnification
ReplyDeleteWe are talking about the same thing here. A reproduction of 1:1 means that an object is recorded lifesize, or in the same size on the film or sensor. With other words, an object with the height of 1 inch would be recorded with a height of 1 inch on film or sensor. With the same lens and the same extension, that object size would exceed the dimensions of a smaller sensor, like an APS sized sensor and thus give the appearance of a reproduction ratio lerger than 1:1.
Delete