By Josh Lehrer, Leica Store Miami
Today, Leica Camera has
launched the first special edition of the M10-P digital rangefinder in the USA:
the Leica M10-P Edition ‘Safari,’ along with a matching (but separately sold)
lens: the Leica Summicron-M 50mm f/2 Edition ‘Safari.’ The M10-P Edition
‘Safari’ is limited to 1,500 pieces worldwide, and the lens to just 500 pieces.
This is a break from Leica’s past Safari Edition releases, which always
included a silver chrome lens as a set. The most recent Leica M-P (Typ 240)Safari Set, for example, included a Summicron-M 35mm f/2 ASPH in silver chrome;
there was no way to get the camera body on its own. Personally I welcome this
change, because Leica is not forcing a lens on someone who might already have
that focal length in their kit. With Leica’s wide range of silver chromelenses, there are many options available to suit your particular need.
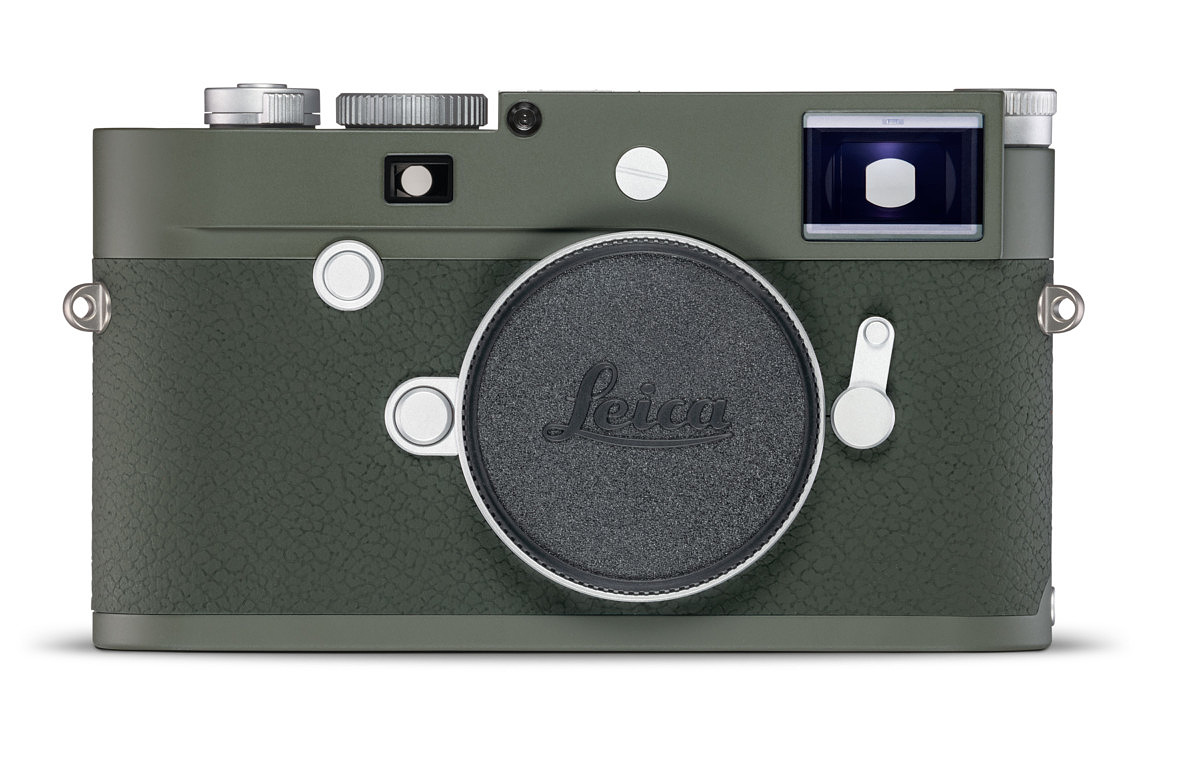
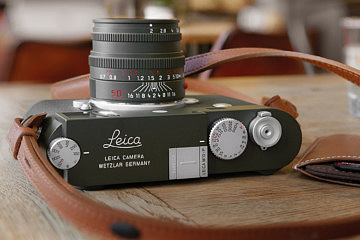
M10-P Edition ‘Safari’
Painted in the classic
Safari color, called “olive green” by Leica, the M10-P Edition ‘Safari’
features silver chrome accents, silver rear buttons and a green leatherette
body covering. The top plate prominently displays the classic Leica script logo
in white paint, as with the standard-production M10-P models.
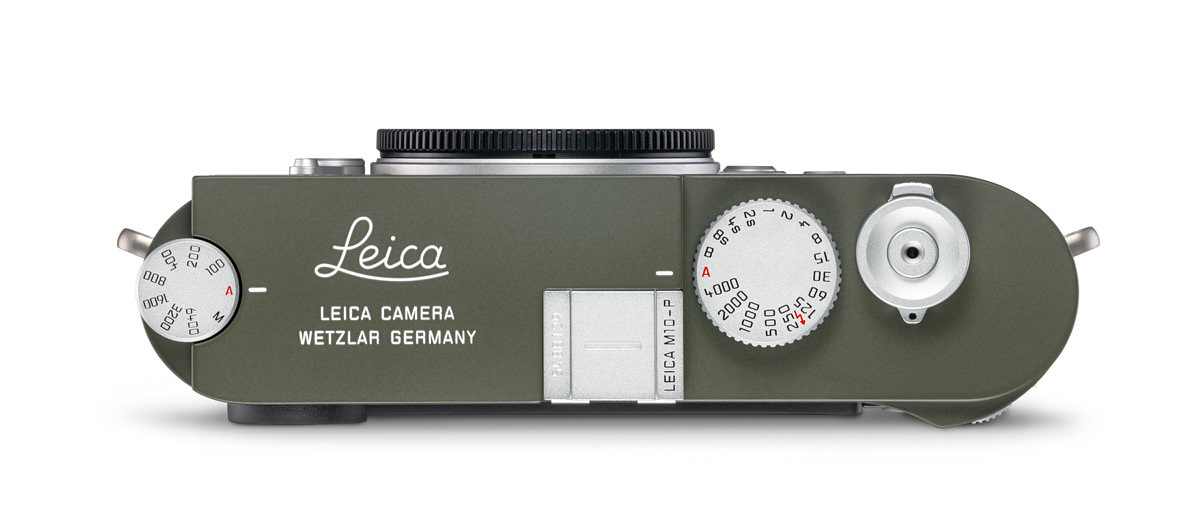
The top plate of the M10-P
Edition ‘Safari’ shows the Leica script logo in white paint and silver-chrome
accents.
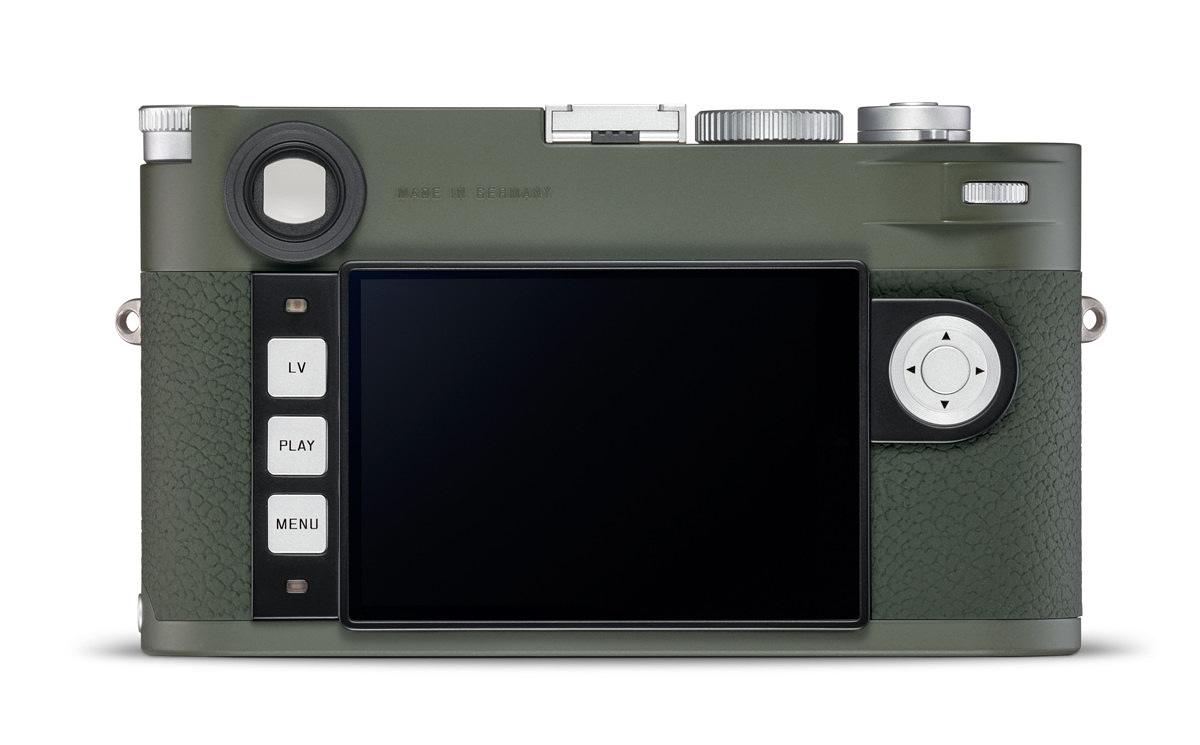
It’s easy to miss, but the
MADE IN GERMANY engraving is painted in the body color on the M10-P Edition
‘Safari,’ unlike the regular M10-P.
A minor, but nonetheless
interesting change is the “MADE IN GERMANY” engraving on the back of the camera
is not painted in a contrasting color, unlike the white lettering on the black
M10-P, or black lettering on the silver M10-P. This is a small but appreciated
touch which makes the camera just a bit more special. A brown leather carrying
strap and SD/credit card wallet are included as well.
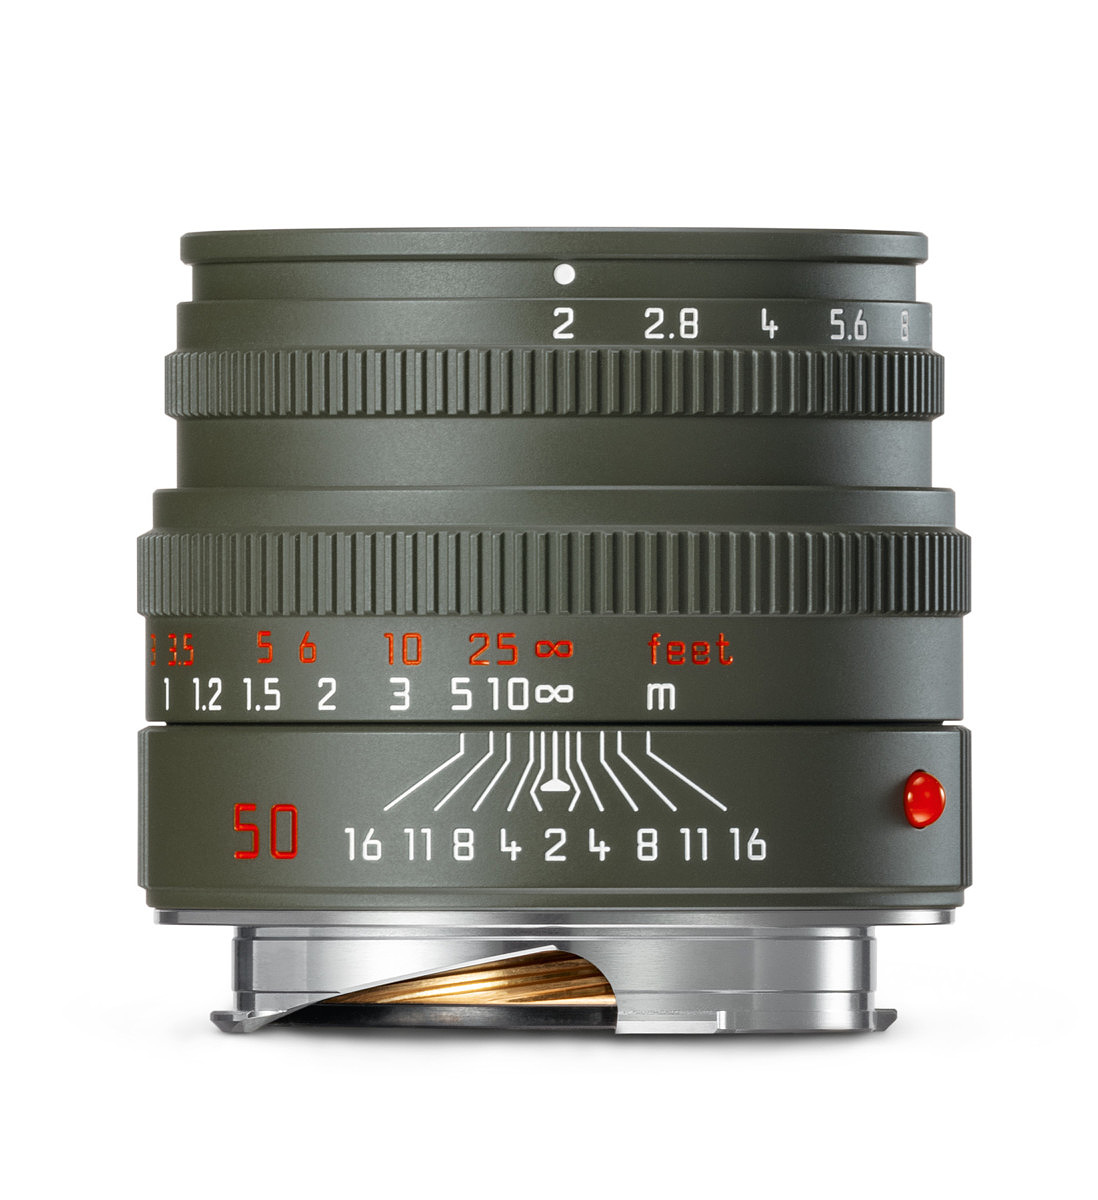
Summicron-M 50mm f/2
Edition ‘Safari’
If you do want to get your
hands on a matching lens, the Summicron-M 50mm f/2 Edition ‘Safari’ is the
first ever M-system lens painted in Leica’s olive green color. Based on the
venerable and compact Summicron-M 50mm f/2 lens, this is sure to be a future collectible
(especially with only 500 pieces being produced). The focal length indicator
and feet distance scale are both painted in contrasting red. If you already
have a prior Safari edition Leica, this lens would pair perfectly, although I
can’t imagine it would look too good on anything else! Leica’s press release
below is a bit vague as to whether the lens barrel is brass or aluminum, but
we’ll be sure to update this post with the right specification when we have it.
Press Release
Leica Camera is excited to
announce new special editions of the esteemed Leica M10-P camera body and the
renowned Leica Summicron-M 50mm f/2 lens, both being made available and sold
separately in ‘Safari’ Editions. The eye-catching special finish of olive green
‘Safari’ cameras from Leica have a long and storied tradition, dating back to
the early years of the M-System.
The Leica M10-P Edition
‘Safari’ camera body will be limited to 1,500 units worldwide and includes a
carrying strap and SD/credit card holder in Brandy-colored leather.
Availability will begin immediately. The Leica Summicron-M 50mm f/2 Edition
‘Safari’ lens marks the very first time in Leica’s history that a Leica M-Lens
will be offered in the legendary olive green enamel finish. Only 500 of these
lenses will be made available, beginning in mid-February.
The first Leica cameras
with this high-quality enamel finish in olive green were originally designed
and constructed for military use in the field. What began in 1960 with the
Leica M1 “Olive” manufactured for the German armed forces went on to become a
story of legends in the camera world. While the subsequent olive green M3 and
M4 cameras were manufactured exclusively for military use, 1977 saw the
appearance of the olive green Leica R3 ‘Safari’ camera in response to
increasing demand from private customers.
This special edition was
followed by a series of popular successors: the M6 TTL ‘Safari’ in 2000, the
M8.2 ‘Safari’ in 2008 and, in 2015, the M-P (Typ 240) ‘Safari’.
The Leica M10-P Edition
‘Safari’ camera and the Leica Summicron-M 50mm f/2 Edition ‘Safari’ premium
lens, both finished in olive green enamel, represent a perfect symbiosis of
functionality, legacy, and design. All visible metallic components of the
camera and lens are elaborately machined from solid brass. The premium baked
enamel finish in olive green makes the camera and lens resistant to handling
blemishes and scratches and provides enduring protection against external
influences such as chemicals and UV light.
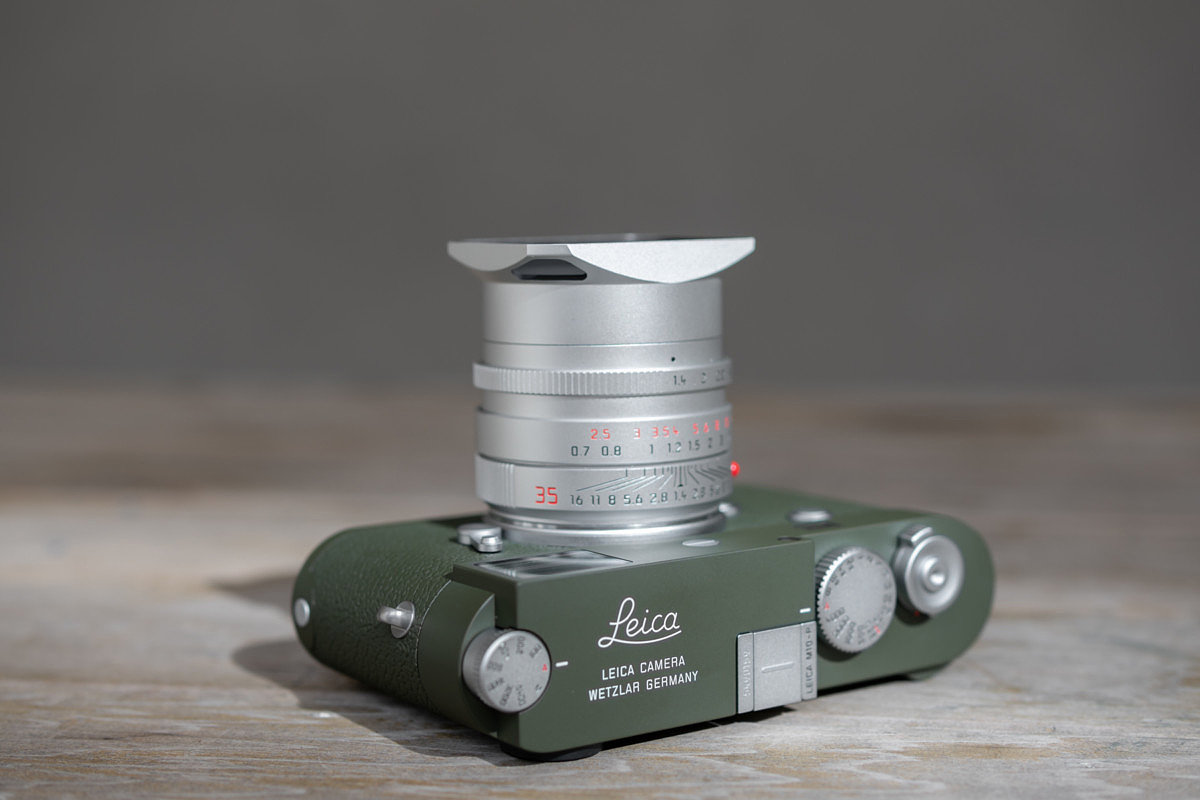
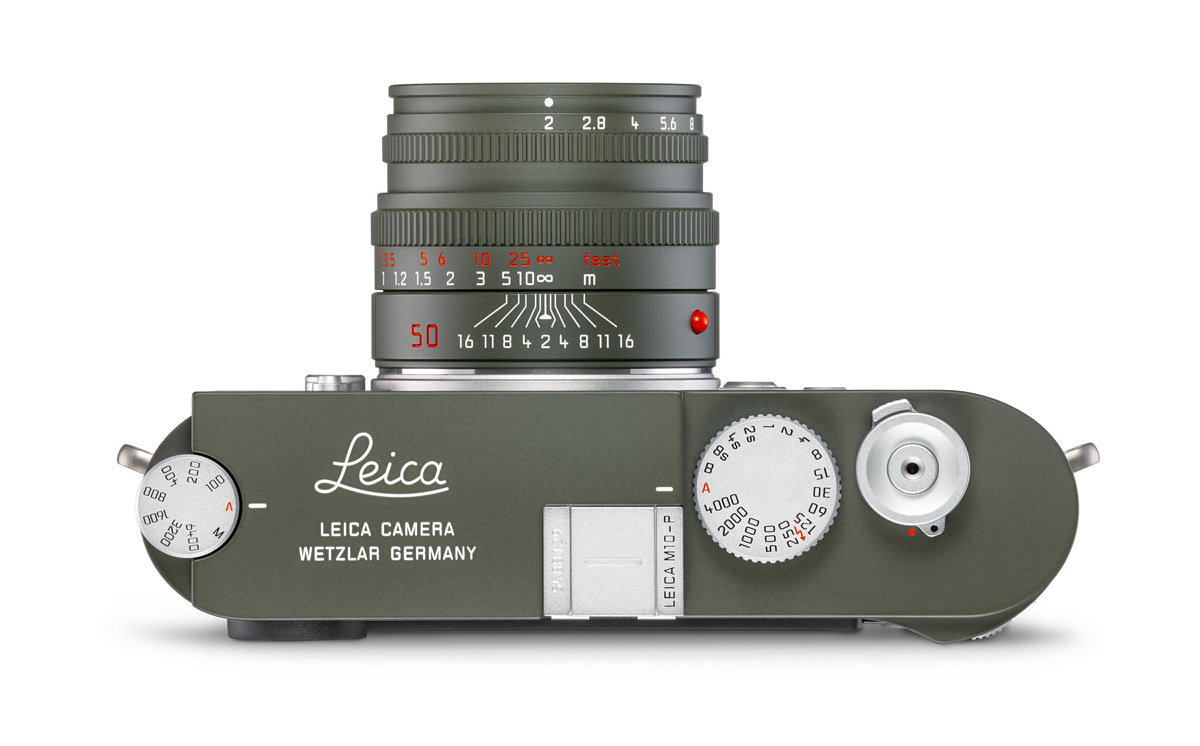
The M10-P Edition ‘Safari’
looks fantastic with the Summilux-M 35mm f/1.4 ASPH in silver attached.
Pricing and Availability
The Leica M10-P Edition“Safari” is priced at $8,450 and is available immediately. The LeicaSummicron-M 50mm f/2 Edition “Safari” comes in at $2,750 with deliveries
expected to begin mid-February. You can order by clicking the relevant link
below, emailing info@leicastoremiami.com, or calling 305-921-4433.
For more information and pictures go here.
For other articles on this blog please click on Blog Archive in the column to the right
To comment or to read comments please scroll past the ads below.
All ads present items of interest to Leica owners.
_______________________________________________________________________
_______________________________________________________________________


 Buy vintage Leica cameras from
America's premier Leica specialist
Buy vintage Leica cameras from
America's premier Leica specialist


Buy vintage Leica cameras from
America's premier Leica specialist


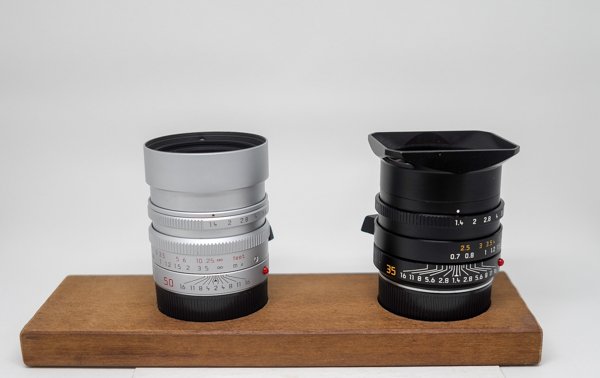
Click on image to enlarge
 Order: info@gmpphoto.com
Please make payment via PayPal to GMP Photography
Order: info@gmpphoto.com
Please make payment via PayPal to GMP Photography
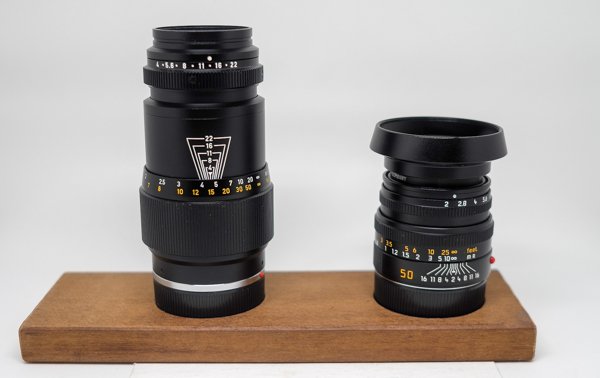
Click on image to enlarge
 Order: info@gmpphoto.com
Click on image to enlarge
 Order: info@gmpphoto.com
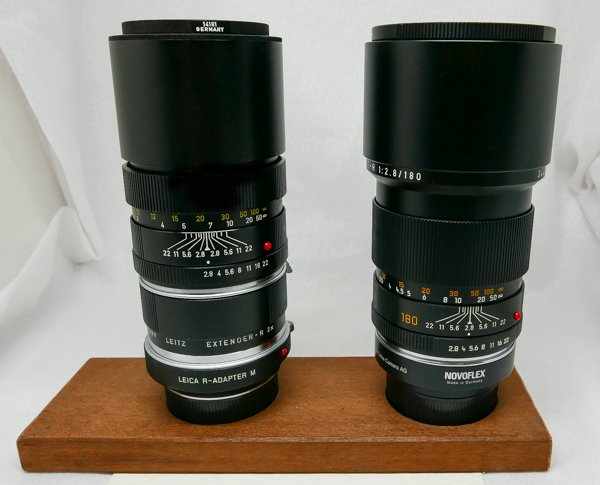
Click on image to enlarge

Order: info@gmpphoto.com
Please make payment via PayPal to GMP Photography
Click on image to enlarge

Order: info@gmpphoto.com
Please make payment via PayPal to GMP Photography
Click on image to enlarge

Order: info@gmpphoto.com
Please make payment via PayPal to GMP Photography