

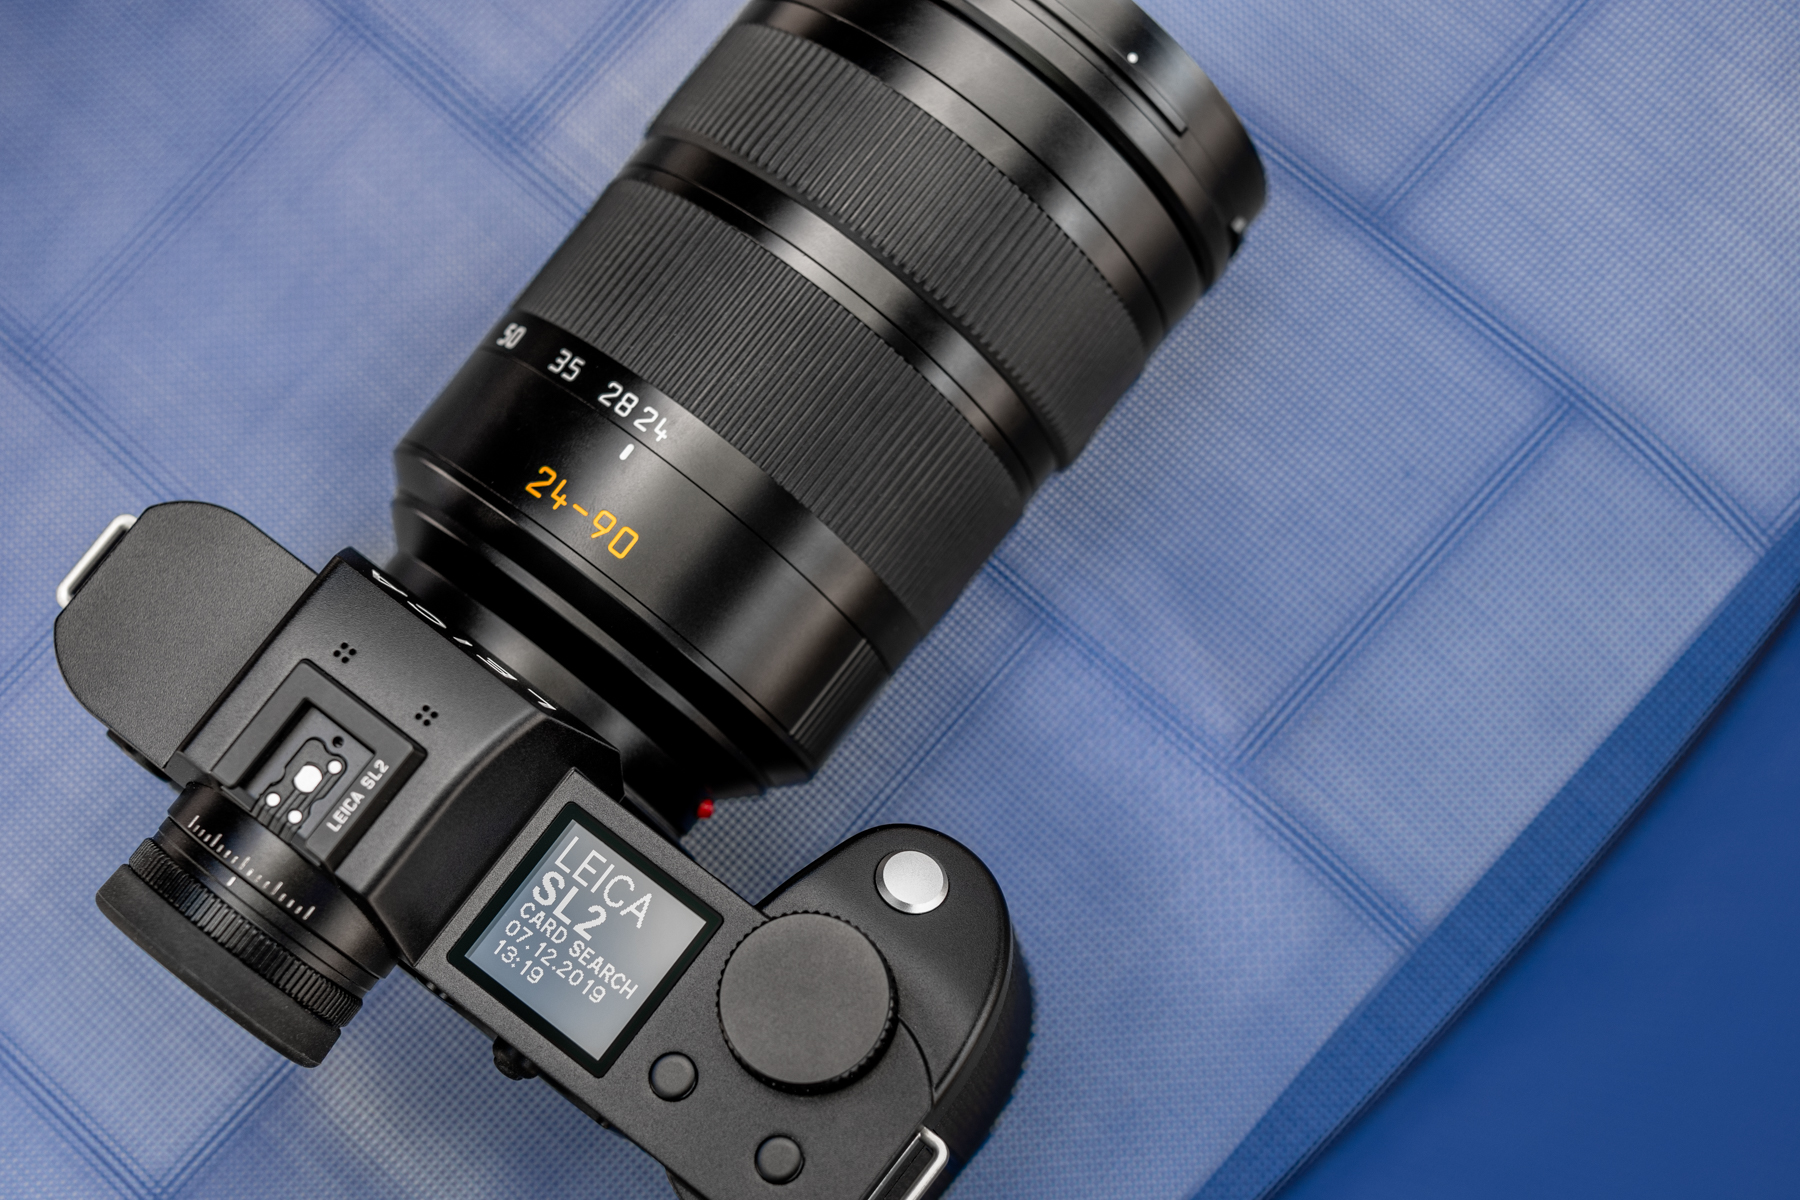
Yesterday I published the initial announcement of the New firmware for the Leica SL2. However, new firmware was also introduced for all the other models of the Leica SL. David Farkas of Leica Store Miami published a very extensive article.
Today, Leica has released a range of firmware updates for the entire SL system. The biggest news is the highly-anticipated firmware version 3.0 for the SL2. With this update, Leica brings all the improvements seen in the last SL-S firmware v2.0 to the 47-megapixel Leica SL2. With upgrades to video, still imagery and autofocus, this is significant update for sure. See below for a full breakdown of features and enhancements. You can dive into more detail in the Release Notes.
The SL2-S also gets a small tweak with firmware v2.1, with bug fixes and a tweak to the user profile system (Release Notes). And even though the camera is now six years old, Leica continues to support and improve the venerable SL (Typ 601) with yet another firmware update. Firmware version 3.8 for the LS (Typ 601) mainly addresses video functionality with improved L-Log gamma definitions. Last up, every SL Lens also gets a firmware update to v5.0, which is included inside the camera-specific firmware and can be accessed in the Camera Information Menu.
Quick Links to Download Firmware
New Features for SL2 Firmware v3.0
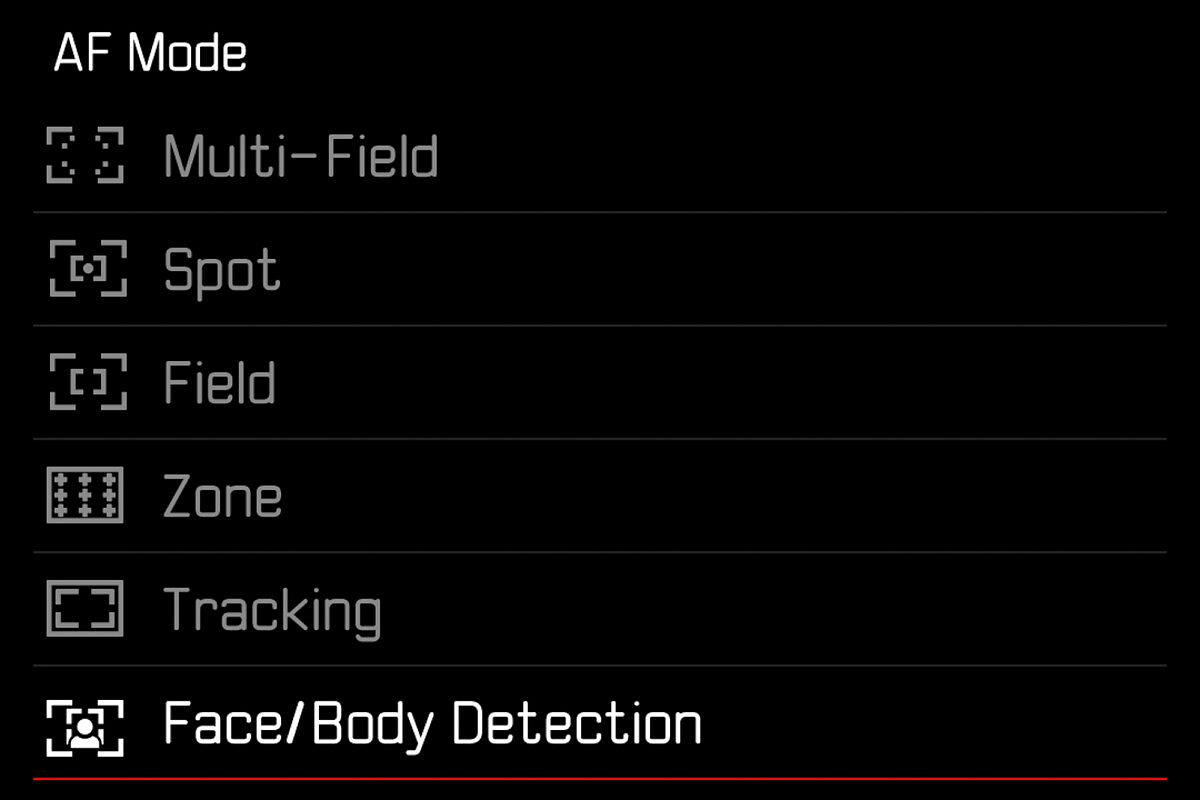
New Autofocus algorithm for improved eye/face/head/body recognition and focus tracking
Faster, more consistent tracking of moving subjects to consistently capture fast-pace action. Face/Body Detection worked fairly well before for slow-moving subjects. With an updated algorithm, subjects are identified and tracked far more fluidly. Also, the camera can now more successfully lock focus on fast-moving objects, like cars, wildlife, kids and pets, where previously the results were hit-and-miss.
Internal 10 Bit 4K/60p & 50p with HEVC video compression (H.265)
By utilizing more efficient H.265 HEVC (High Efficiency Video Codec) compression, 4K video now takes up 25-50% less card/drive space while offering the same video quality as H.264 encoding. The only downside here is that older or lower-powered computers may struggle during video editing. If you have a modern system, the CPU and/or GPU typically offer hardware decoding.
Long-GOP recording for 10 Bit codecs with 150 –200 MB/s
Similar to the utilization of H.265 HEVC compression, Leica has switched from All-Intra to Long-GOP for 4K framerates higher than 29.97 fps in order to maximize SD card storage space for video. For 10-bit video, the data rate is 200 Mbps and 150 Mbps for 8-bit recording. Even though the data rate has been cut in half, the quality remains the same. Instead of capturing every frame as in All-Intra, the Long-GOP method utilizes key frames to encode an entire frame, then uses a series of delta frames which only record the changes from one frame to the next. During playback, your video editing software reassembles the video using these keyframes and delta frames. The process saves space since it's not recording redundant, non-changing data between keyframes. If you prefer to use All-I, Leica still provides the choice between L-GOP and All-I for 4K 29.97 frame rates and slower.
No Recording Time Limitation
Just like the SL2-S, the SL2 is no longer limited to 30 minutes of internal recording. With high capacity SDXC cards and the new high efficiency recording codec, you'll now be able to record hours worth of footage in either 4K or FHD without the need for an external recording device like an Atomos Ninja.
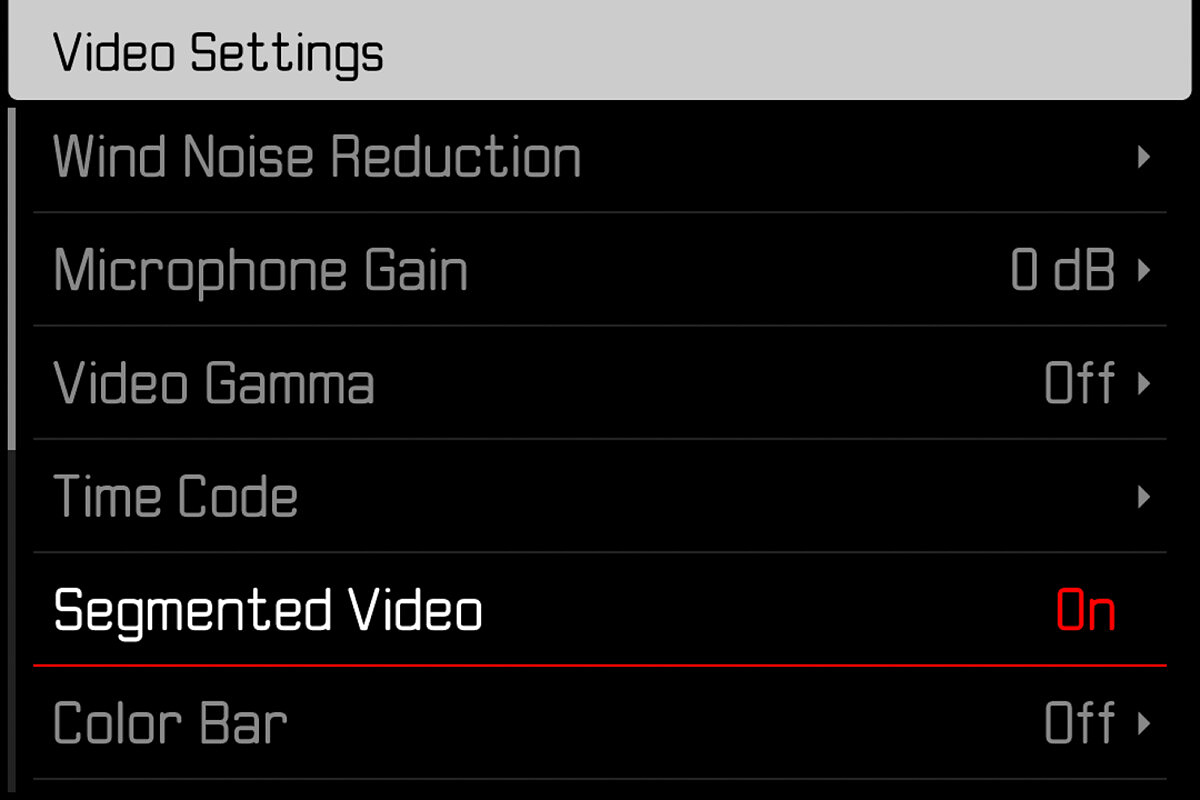
Segmented Video
Videos are separated into individual files as you record, so that in the event of an SD card failure you'll never lose more than one minute of footage. While this feature can certainly avoid a catastrophic file corruption for long recording sessions, some may not want to deal with an SD card full of one minute video clips that need to be joined in editing.
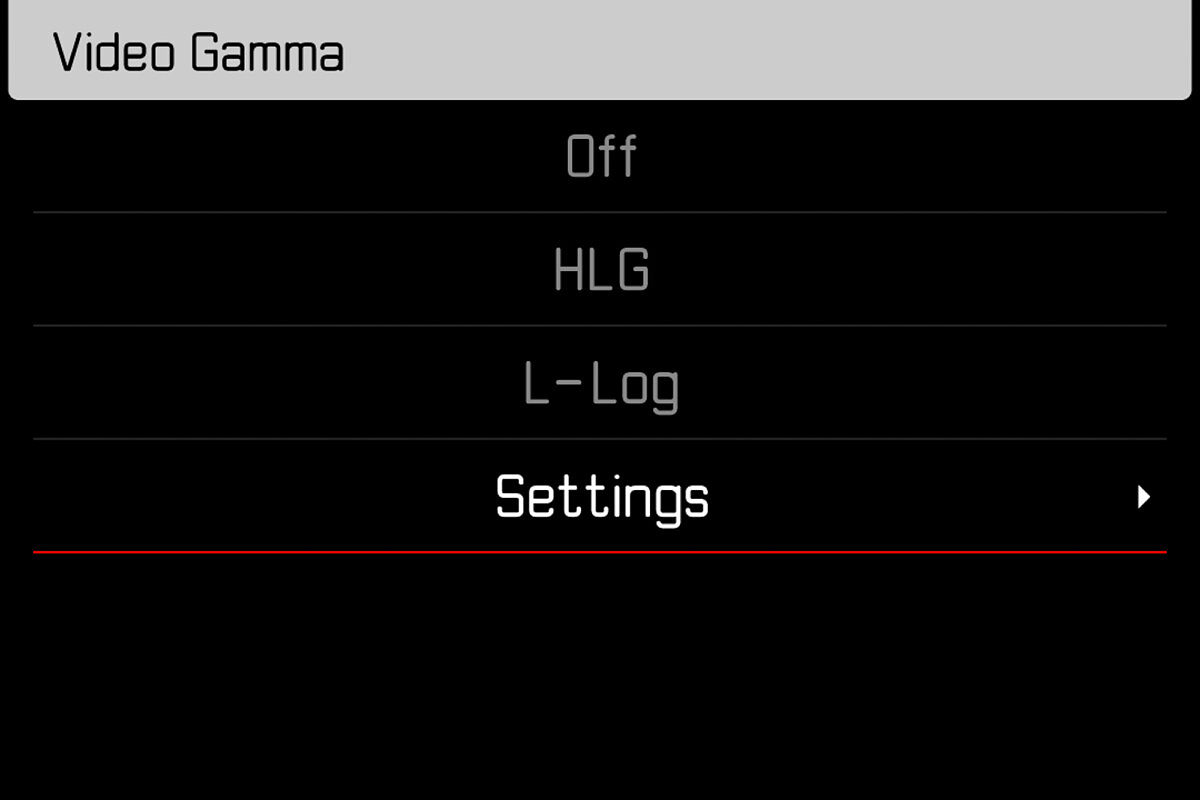
Individual Viewing-LUT upload function
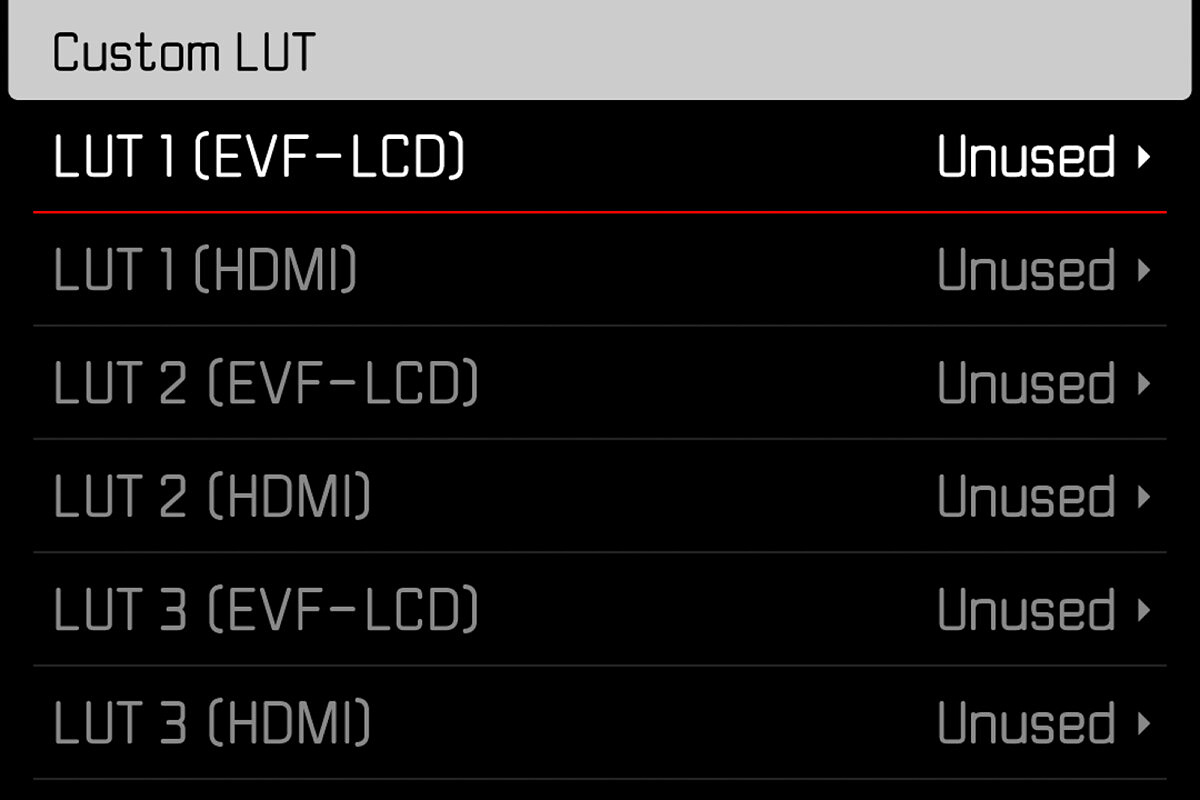
In addition to the two built-in LUTs (Natural and Classic), you can now import your own custom LUTs and recall them for viewing when shooting in L-Log Gamma. This can aid greatly during shooting for pre-visualizing color grading and tonality, especially if you are trying to get a particular look to the footage. Here's how to find the new options.
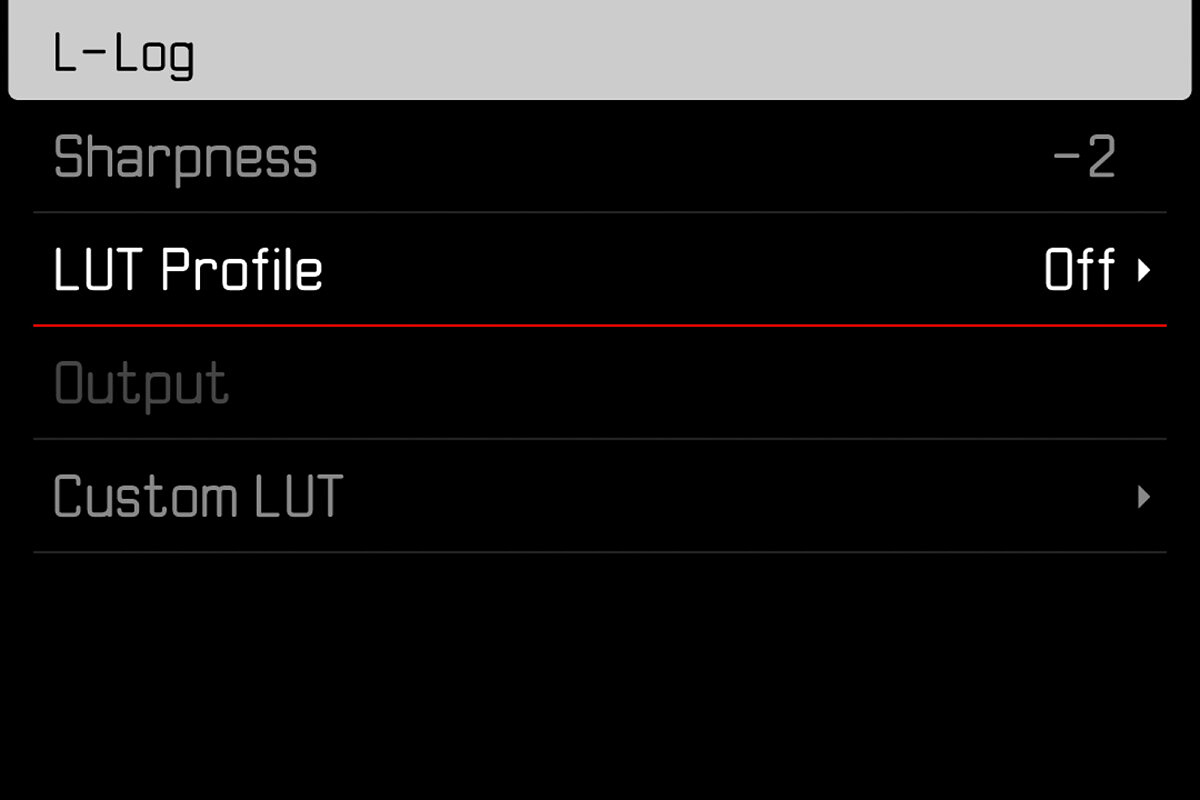
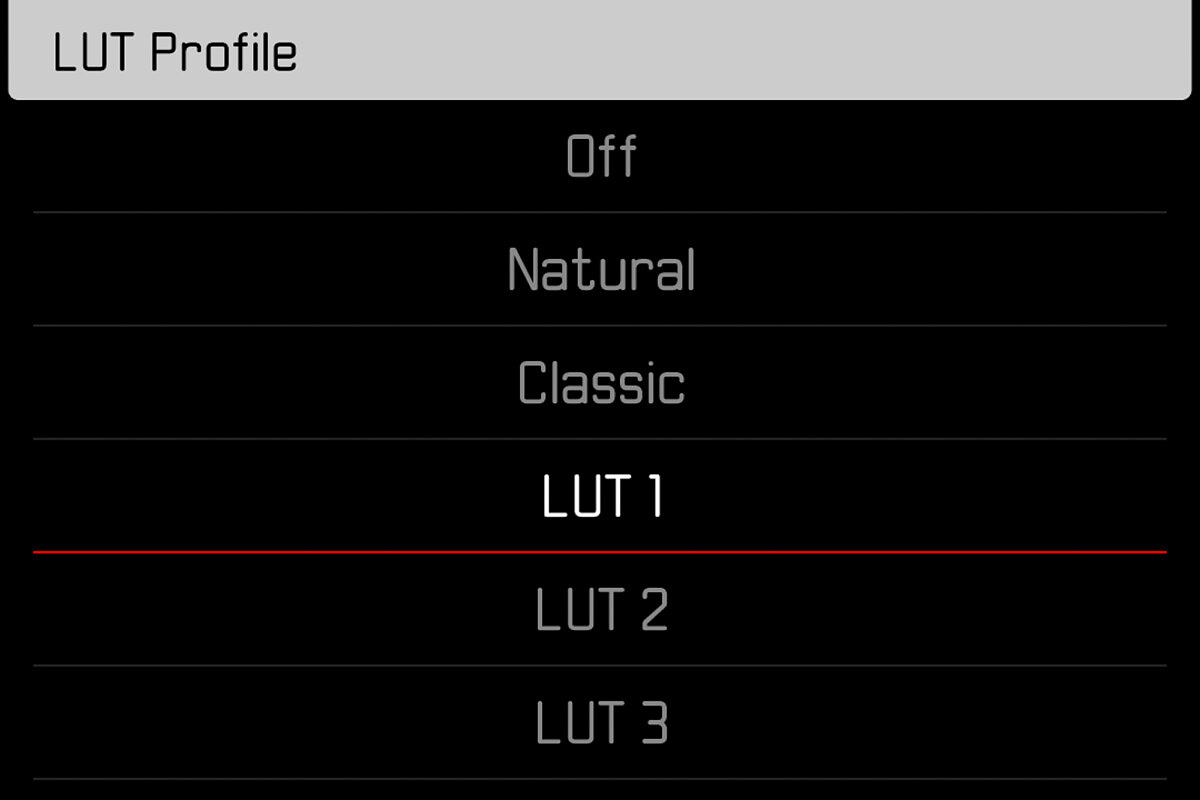
Rather than simply adding a single custom LUT, Leica has given the option to load up to three separate custom LUTs and provides granular control for each one. In the Custom LUT submenu you can select to apply the LUT on the EVF or LCD, but record the ungraded L-Log to an SD or out over HDMI to a recorder, apply the LUT to HDMI output if using a external monitor, or both. Kudos to Leica for such a nuanced, yet simple solution to LUT previewing.
Enhanced Live View for better low light image composition control
Under Live View Settings, you can find the menu option for Enhanced Live View, which promises improved low light live view performance. We're not sure of how Leica was able to improve the already impressive low light live view, but no complaints here. What is also unclear is whether enabling this feature will impact battery life, so best to disable it when not heading out for some night phtoography.
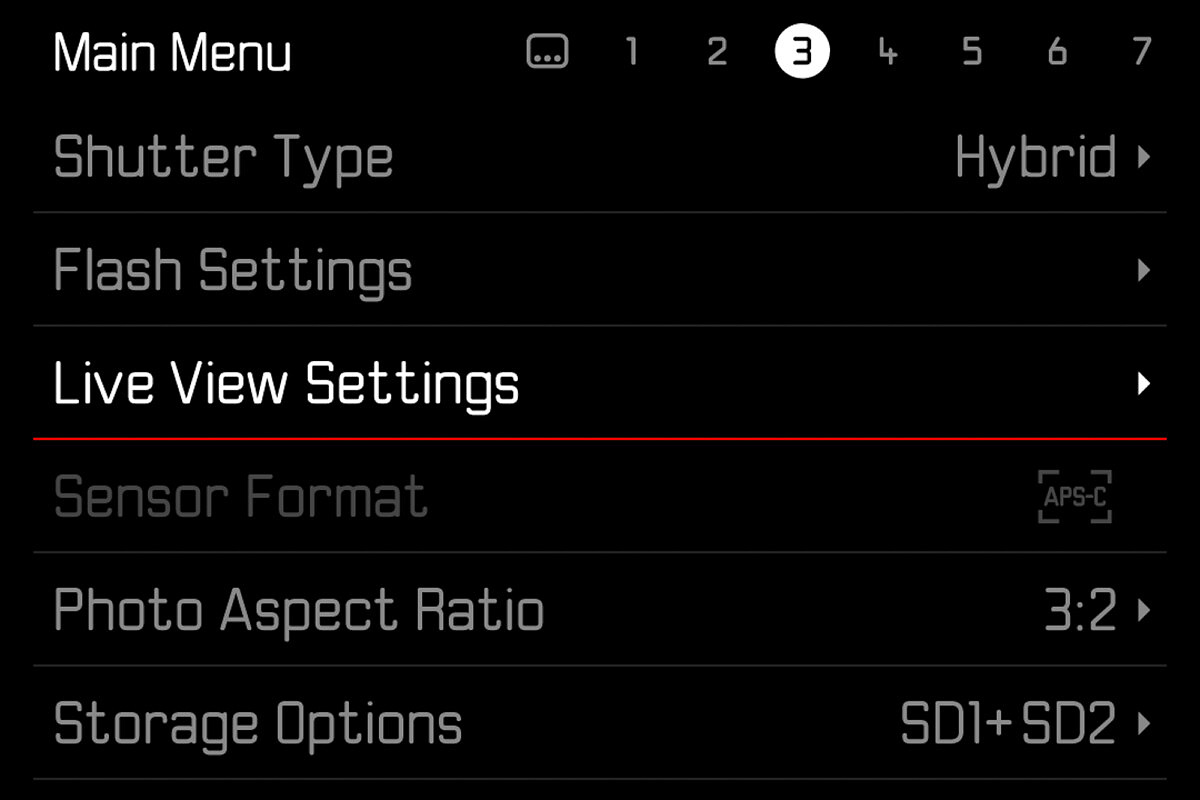
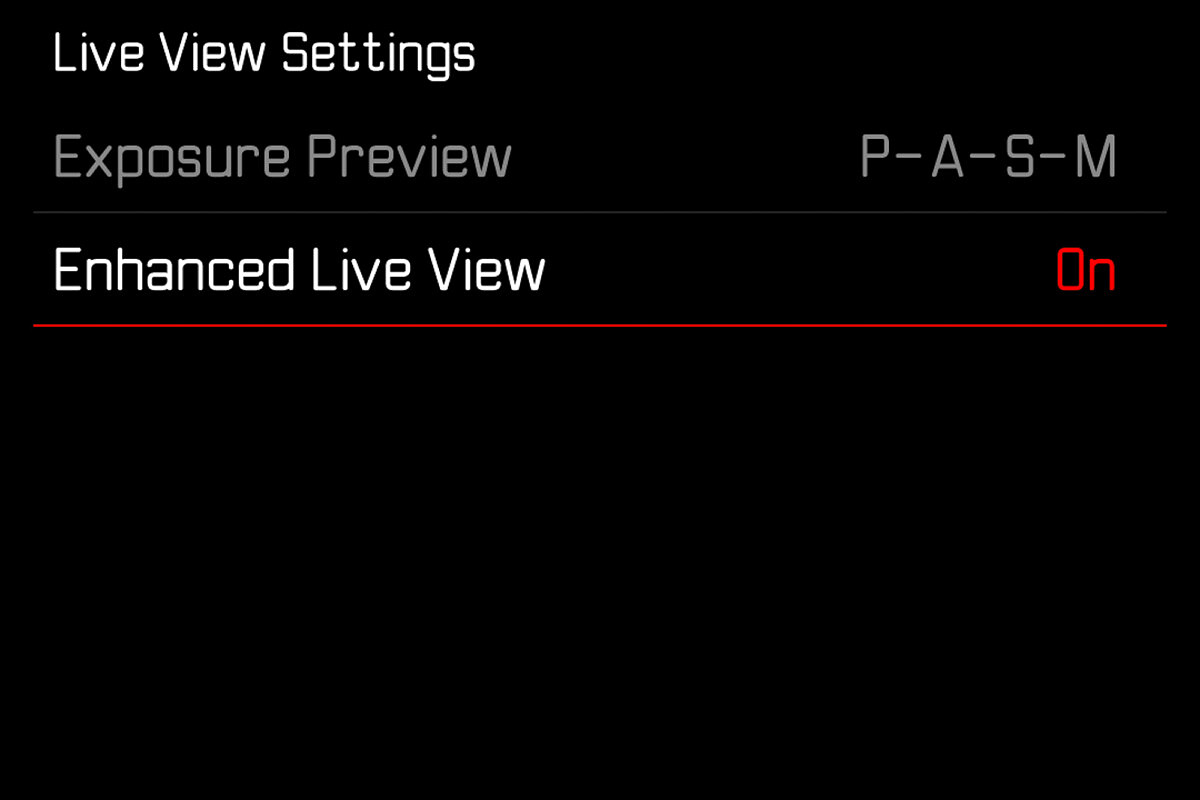
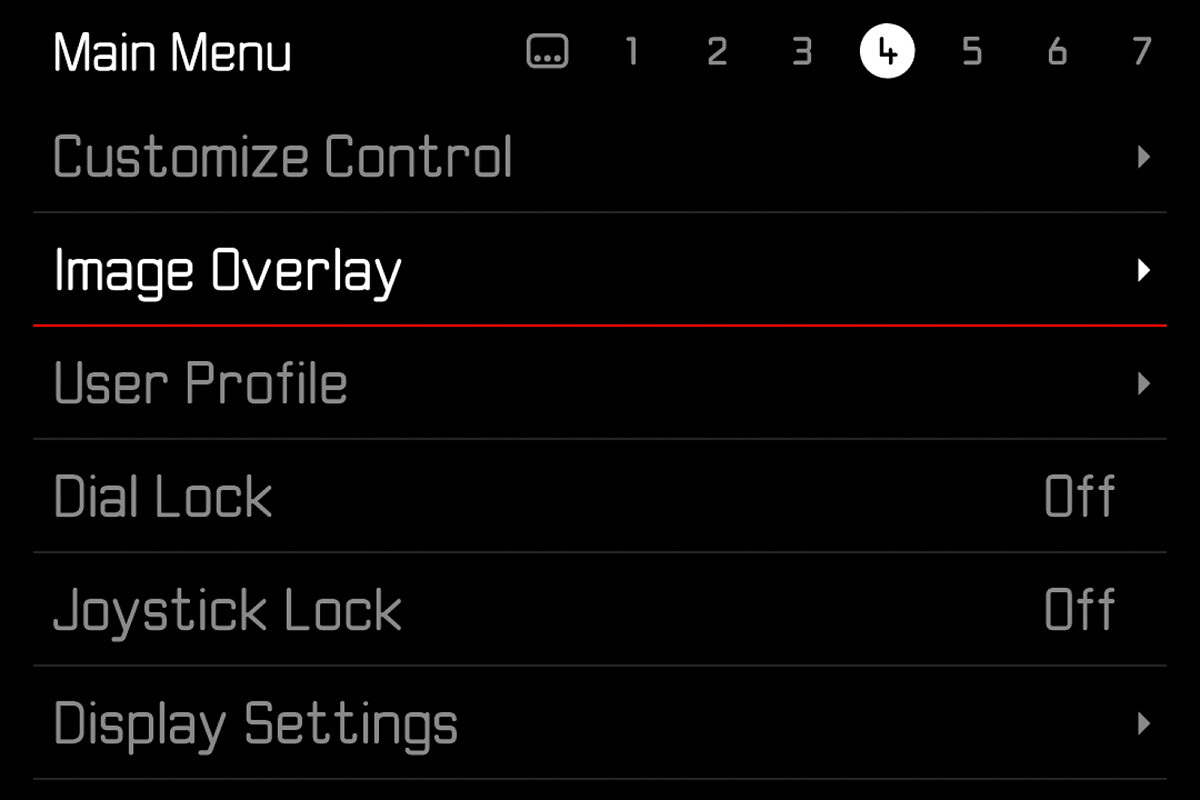
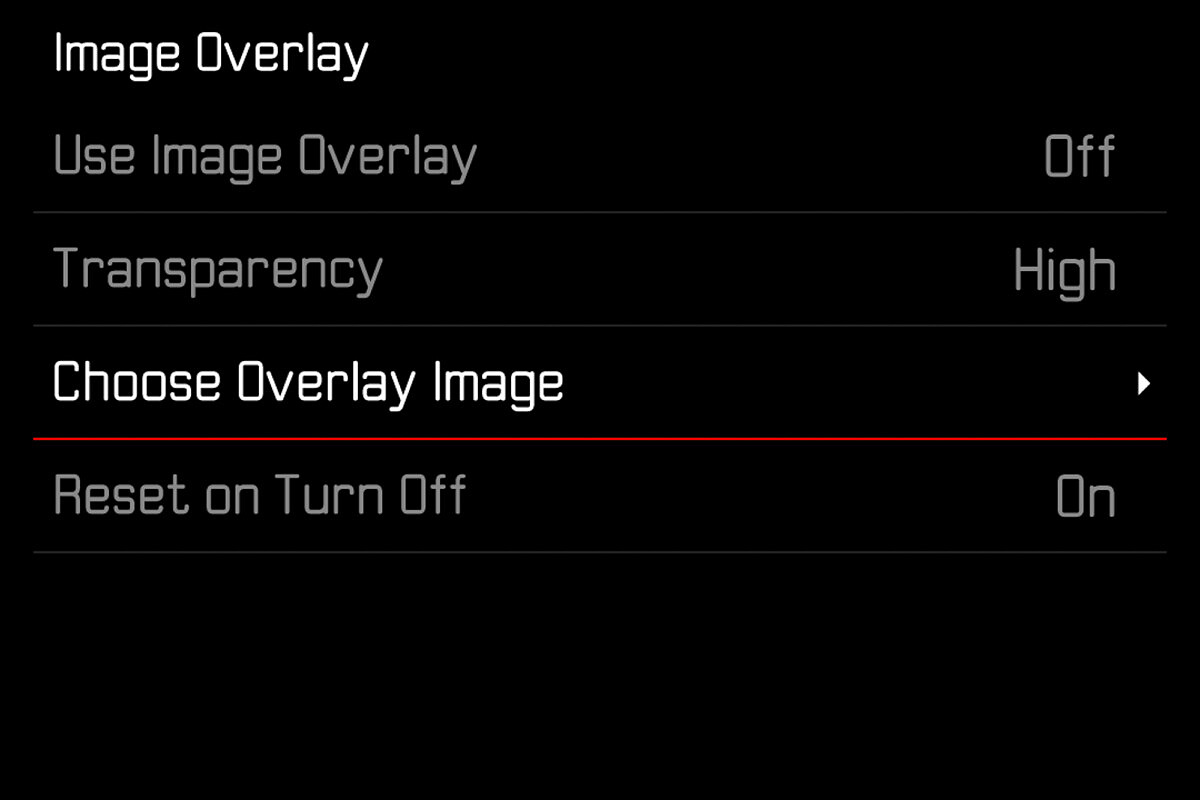
Image Overlay
This feature allows alignment of the camera position on the basis of a previous taken image, which displays in a transparent mode in the EVF or on the LCD. Compose and capture perfectly aligned photos based on a prior shot visible as an overlay in Live View. This function could prove useful for special effects or planned compositing in post. The image needs to be stored on your SD card and selected within the Image Overlay menu before activating the mode.

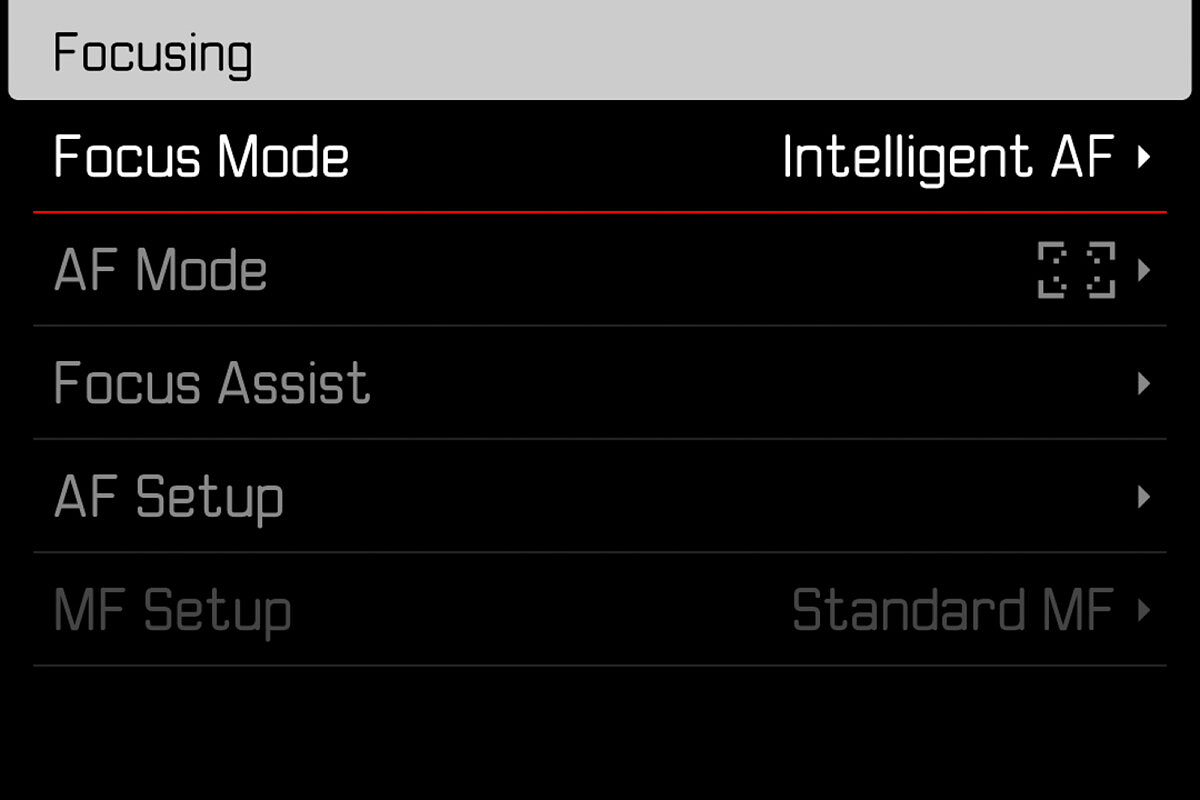
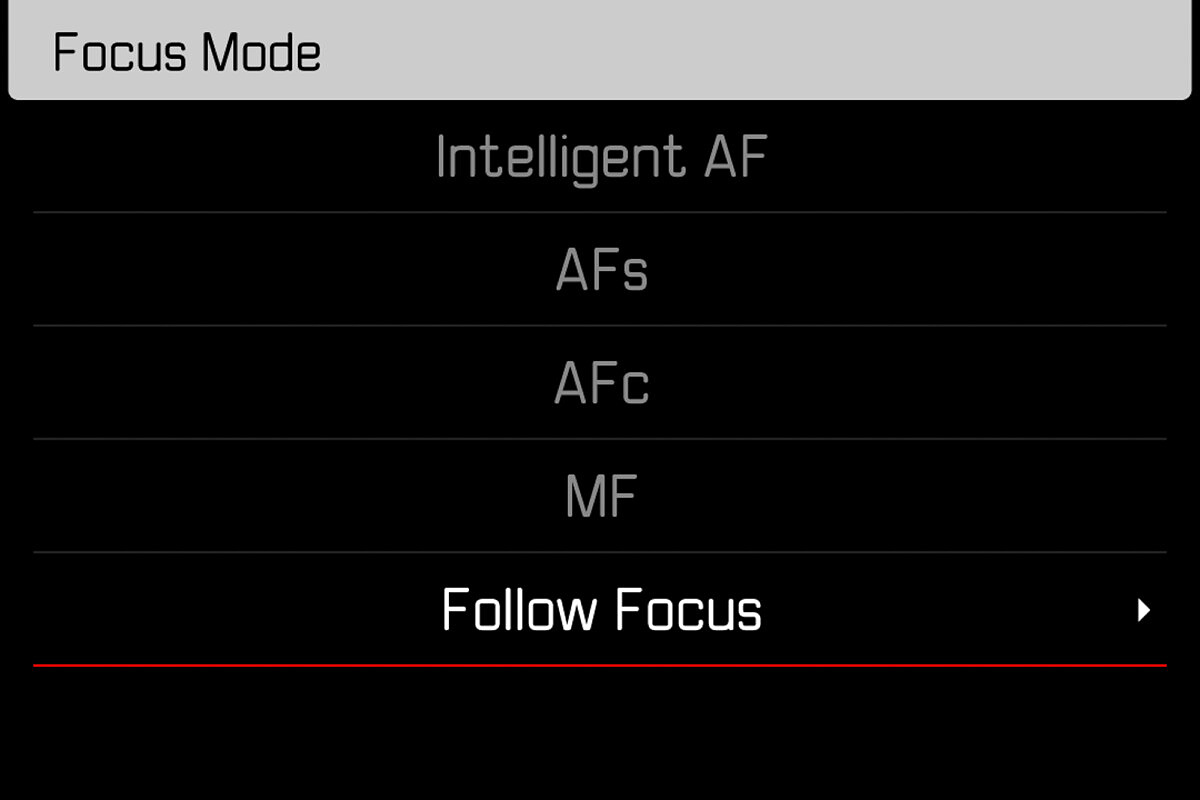
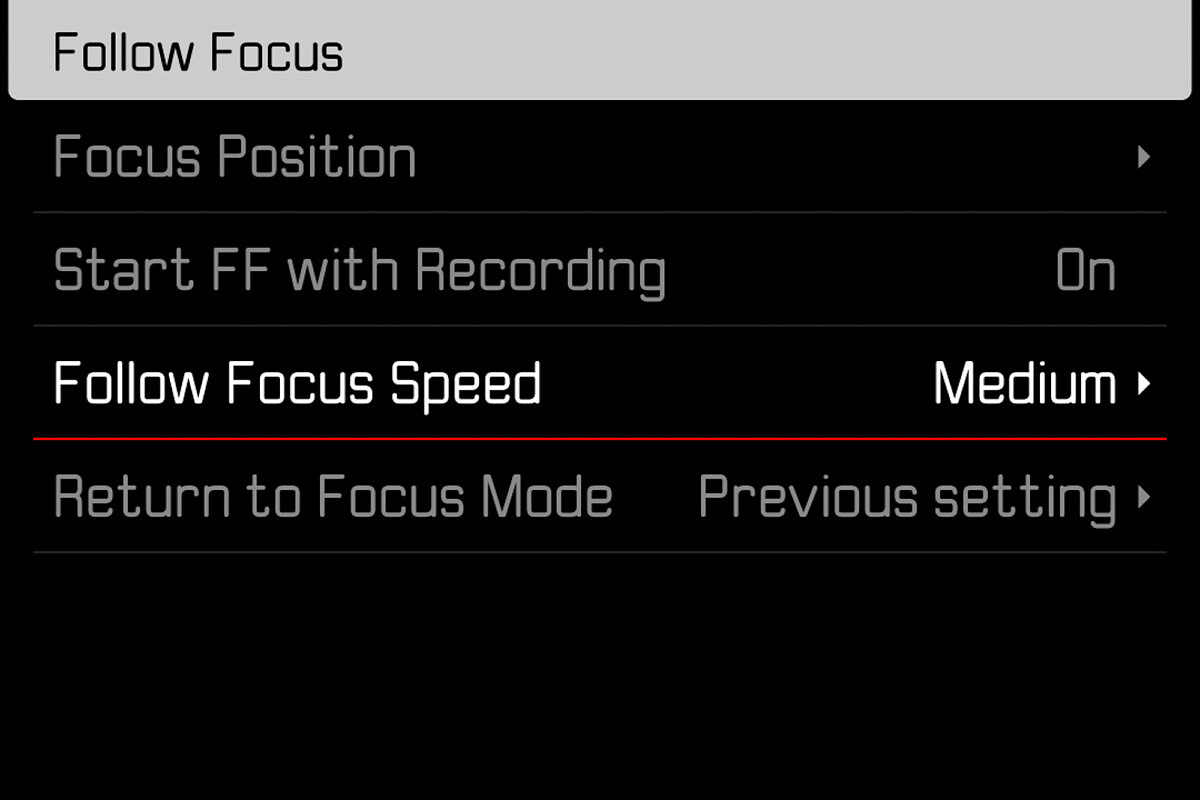
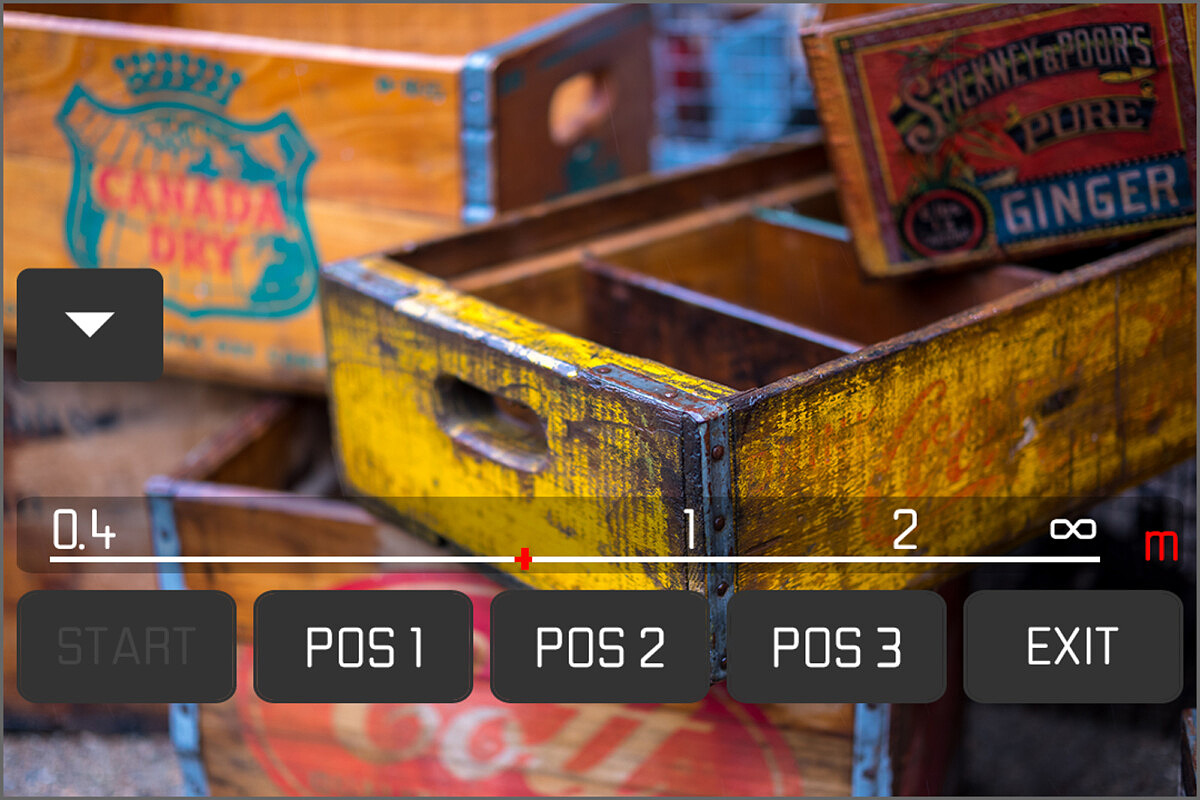
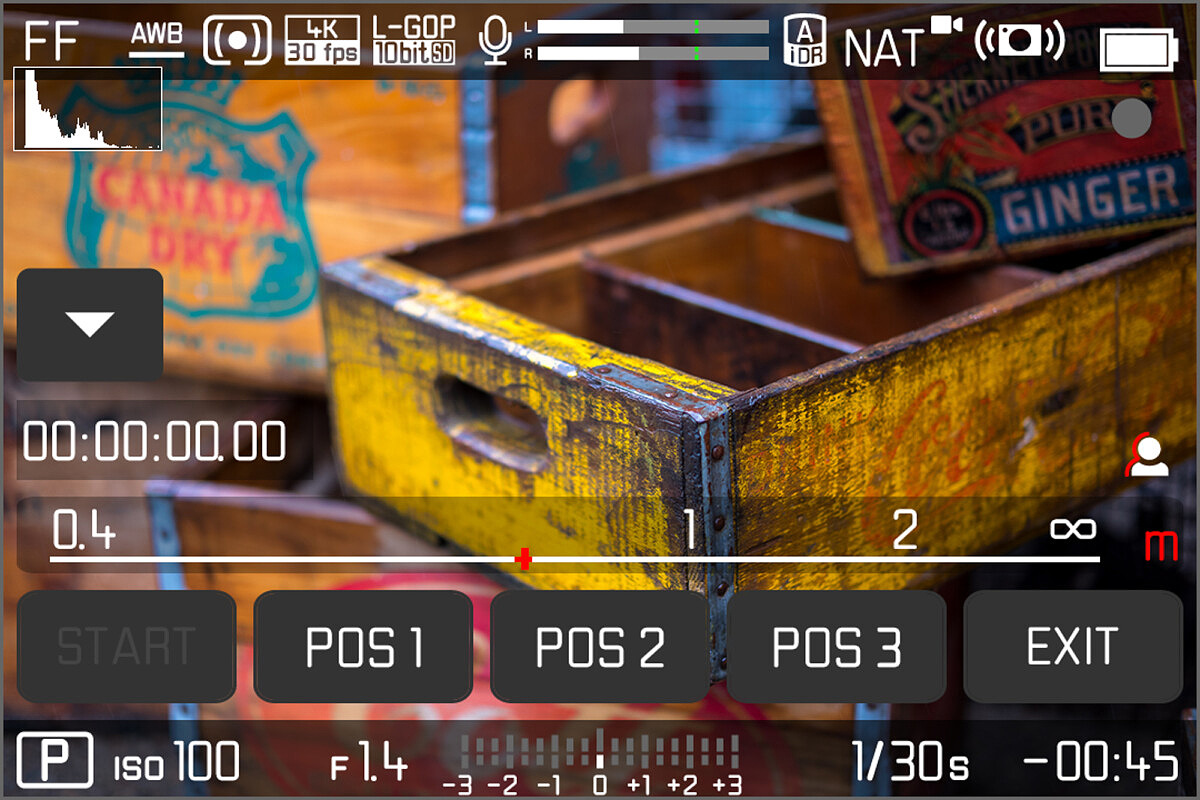
Automatic Follow Focus operation
Set up to three points of focus and let the camera pull focus through them with pre-determined timing for cinematic effects. This is an extremely cool feature, one that is usually only offered on expensive third-party motion control systems. Follow Focus can be activated from the Focus Mode menu. Once in the submenu, you'll set the focus points and the timing, then activate during filming. Of course, this only works with autofocus L-mount lenses.
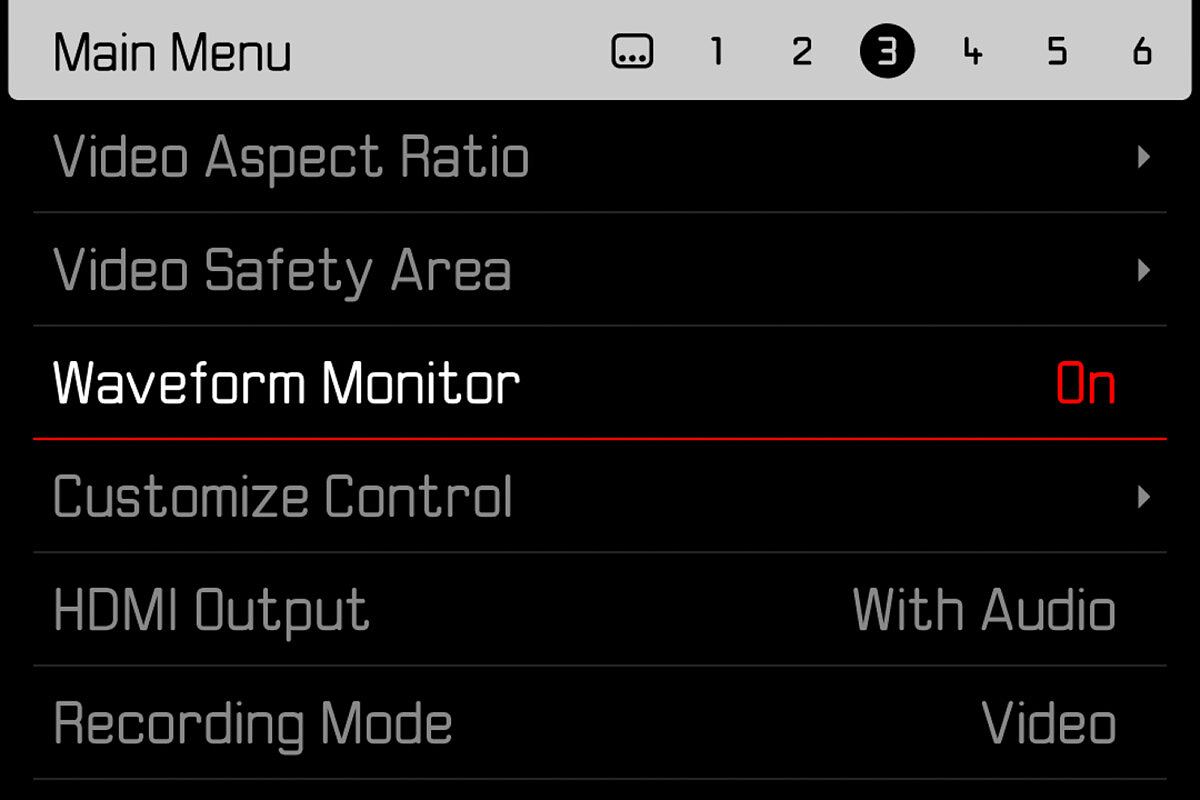
Wave form monitor for professional exposure control
In addition to the on-screen histogram, you can gauge video exposure using a waveform display for even more exposure information and detail. Unlike a histogram, which shows the aggregate tonal distribution for the entire image, a waveform display shows luminance values and volume across the frame. This is an extremely valuable tool for video and cine production, especially in complex scenes. Typically only found on external dedicated video monitors and recorders, having a built-in waveform in the SL2 is incredibly useful. The waveform overlay itself can be resized and dragged around to any position on the touchscreen, which is even more cool.
Color bars with audio signal as reference for correct color grading and sound control in post-production
Three different standard color bars can be selected and displayed on screen to be recorded to video. These color bars can be handy for multi-camera workflows or for simply color balancing monitors on a production set. In addition to the different color bars, you can also set the volume of the tone for sound normalization in post production.


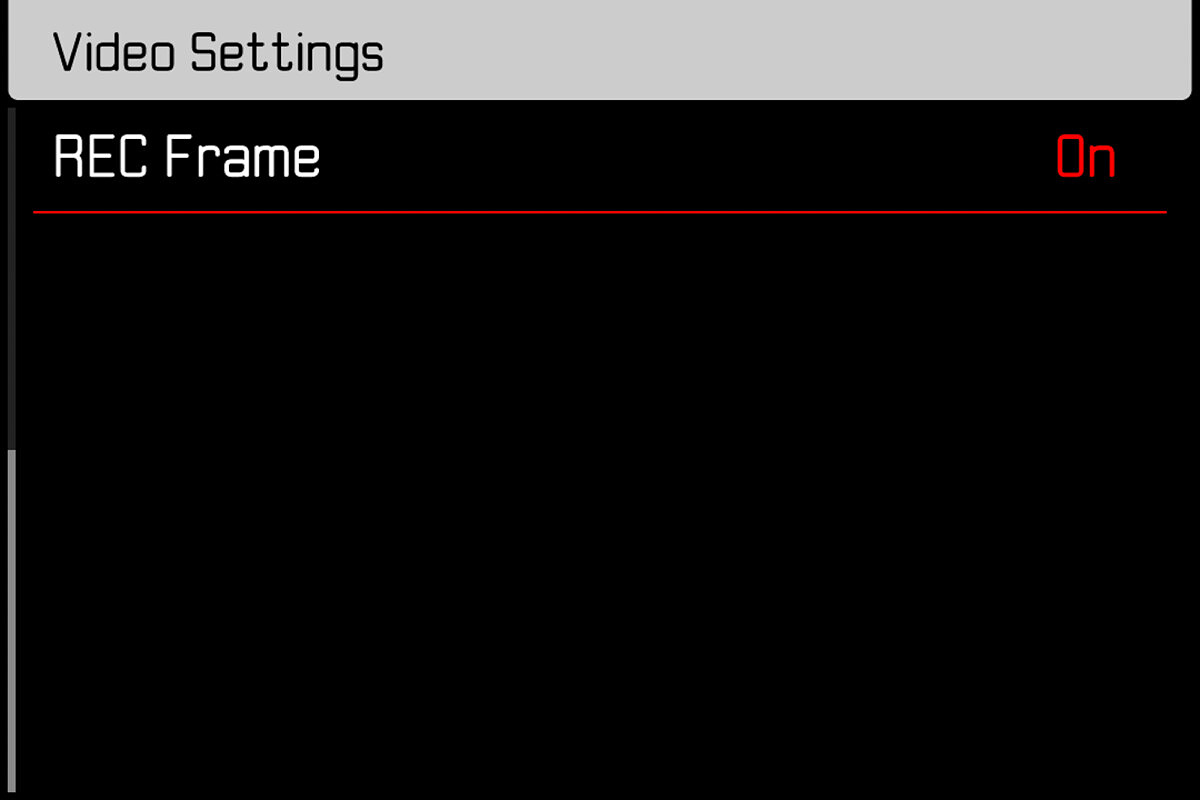
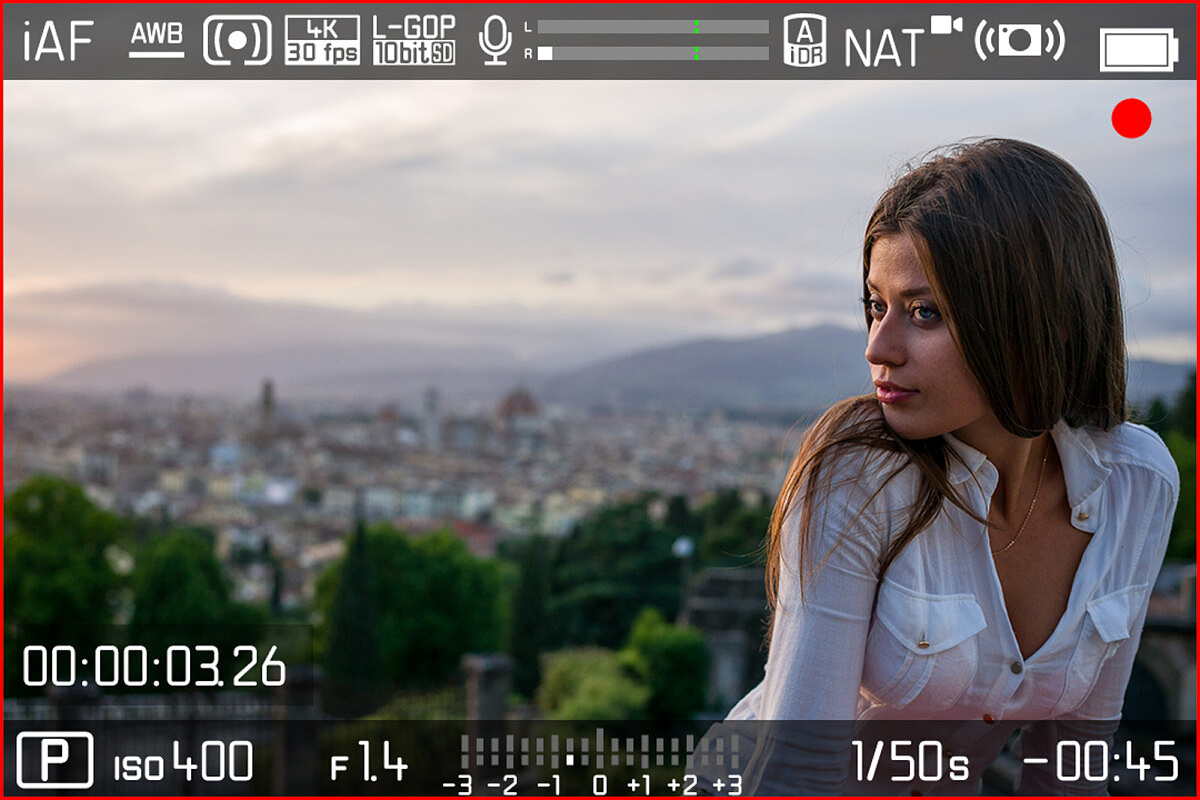
Tally Mode
Similar to using an Atomos Ninja, when you enable Tally Mode, referred to in the menu as REC Frame, a bright red outline around the perimeter of the screen displays when actively recording video, in addition to the red dot in the upper right corner. Some might find this distracting, but I think most people will find it a great way to know for sure if you are rolling or not.
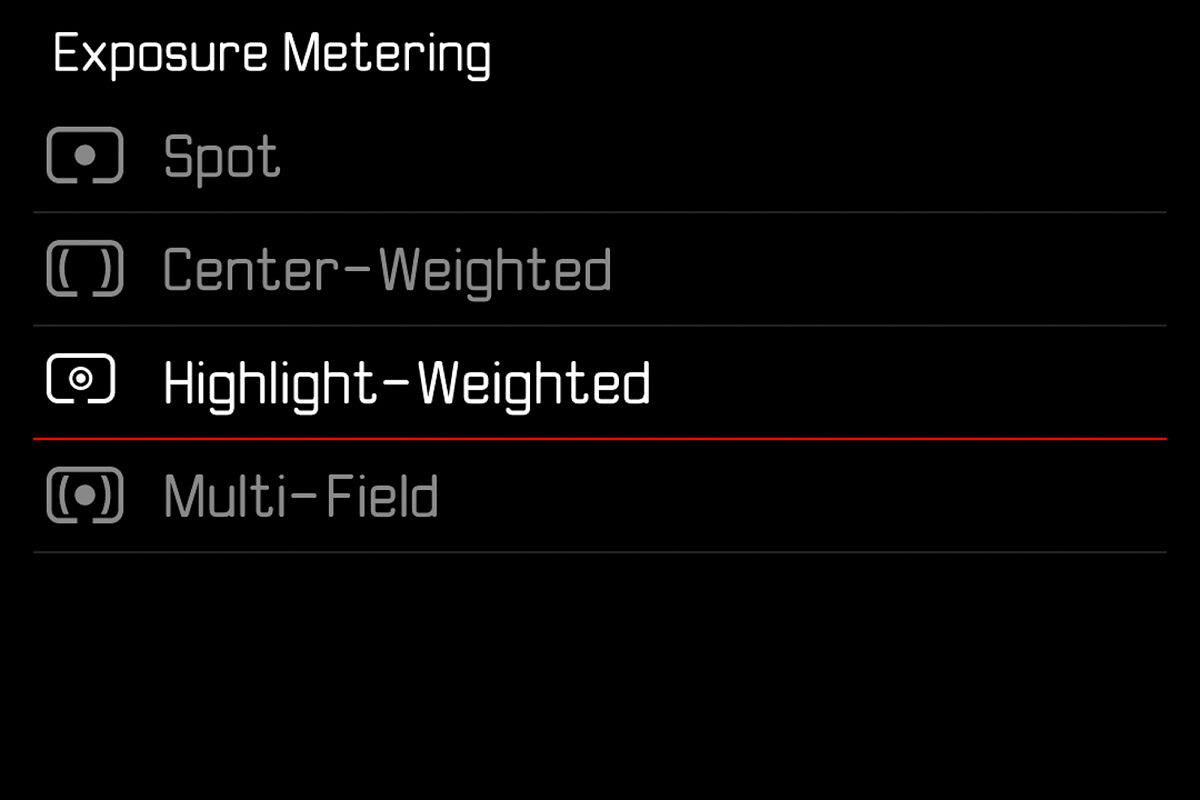
Highlight weighted metering
This one feels like it was made for me! We've long espoused the virtues of exposing for the highlights, but this has involved using highlight clipping warnings, test shots and frequent use of exposure compensations. But now, Leica has added a new metering mode into the SL2. When shooting in Highlight-Weighted mode, the camera will evaluate the full scene off the sensor and set the exposure to the brightest point in the image. This is an amazing addition and will be a huge timesaver for so many photographers.
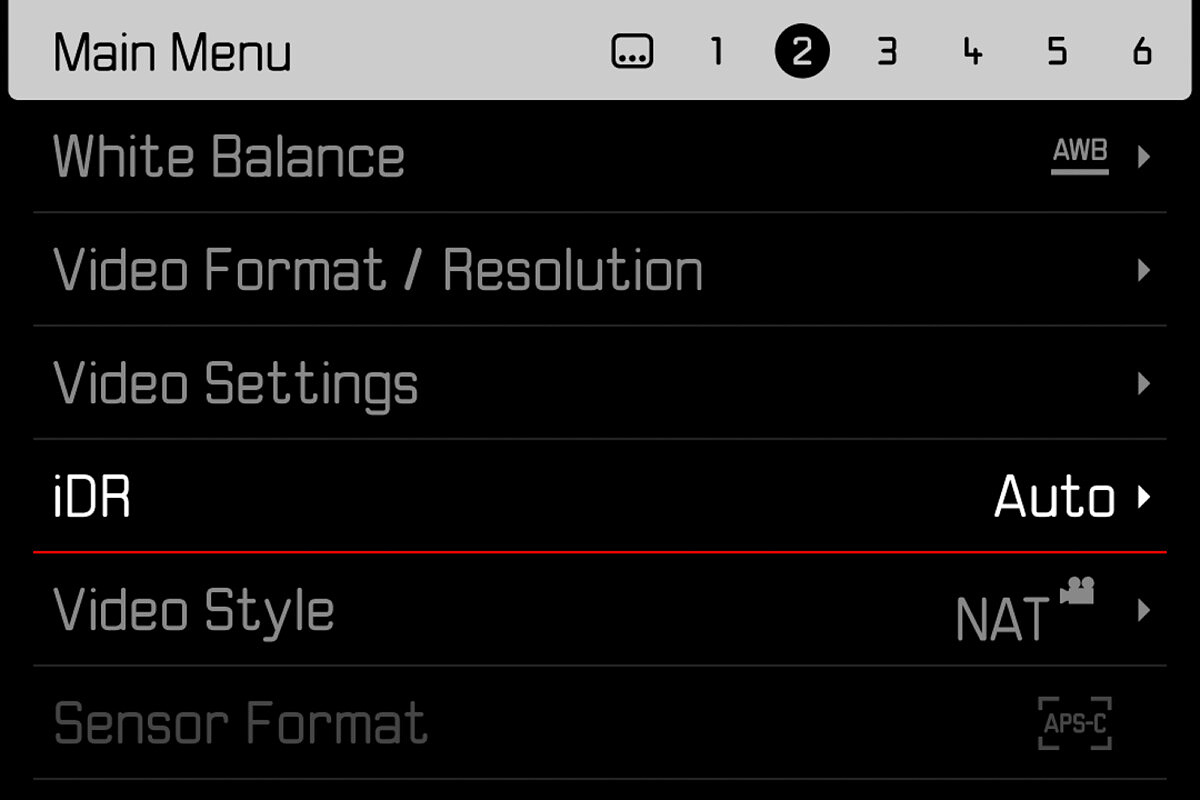
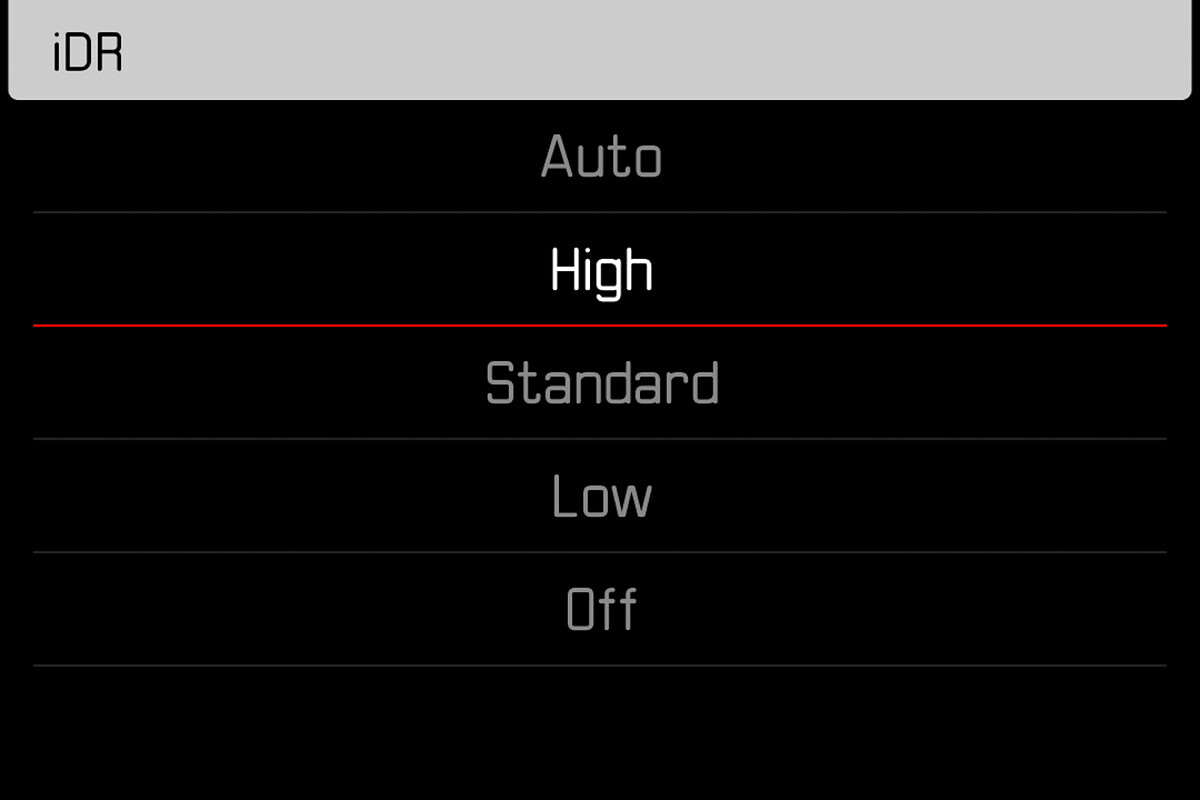
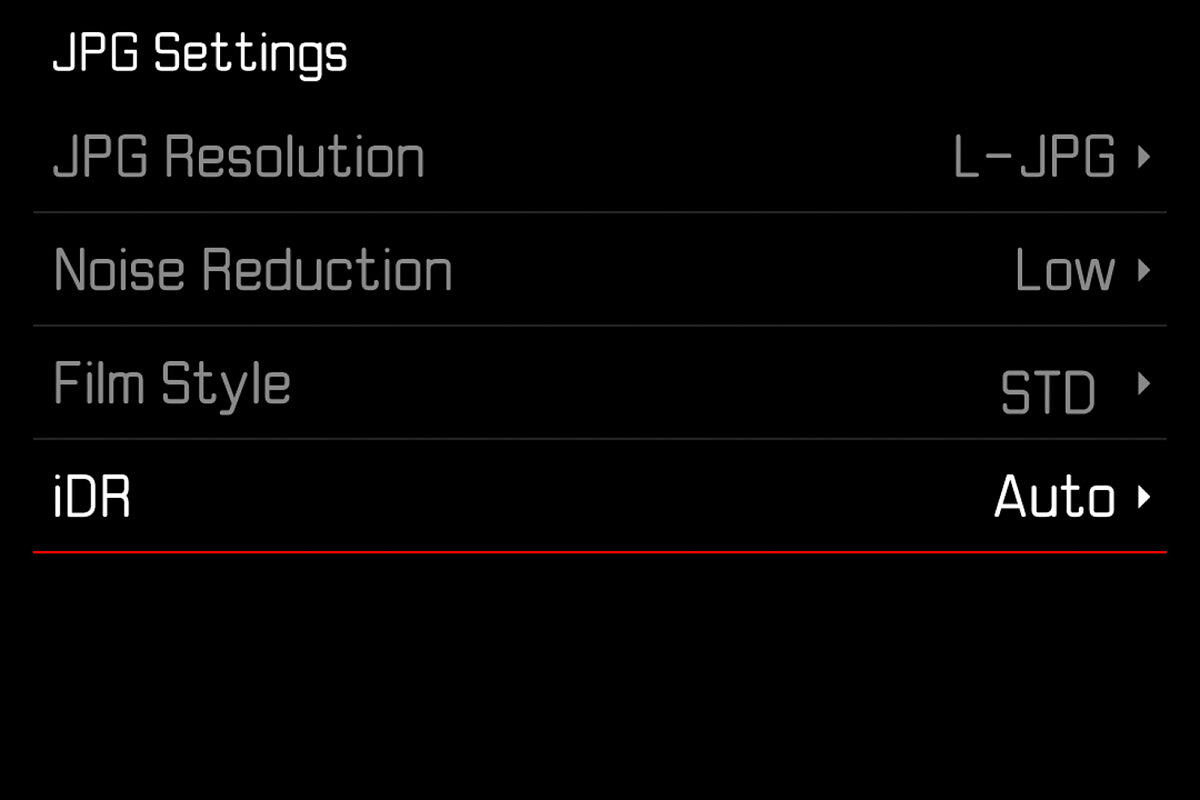
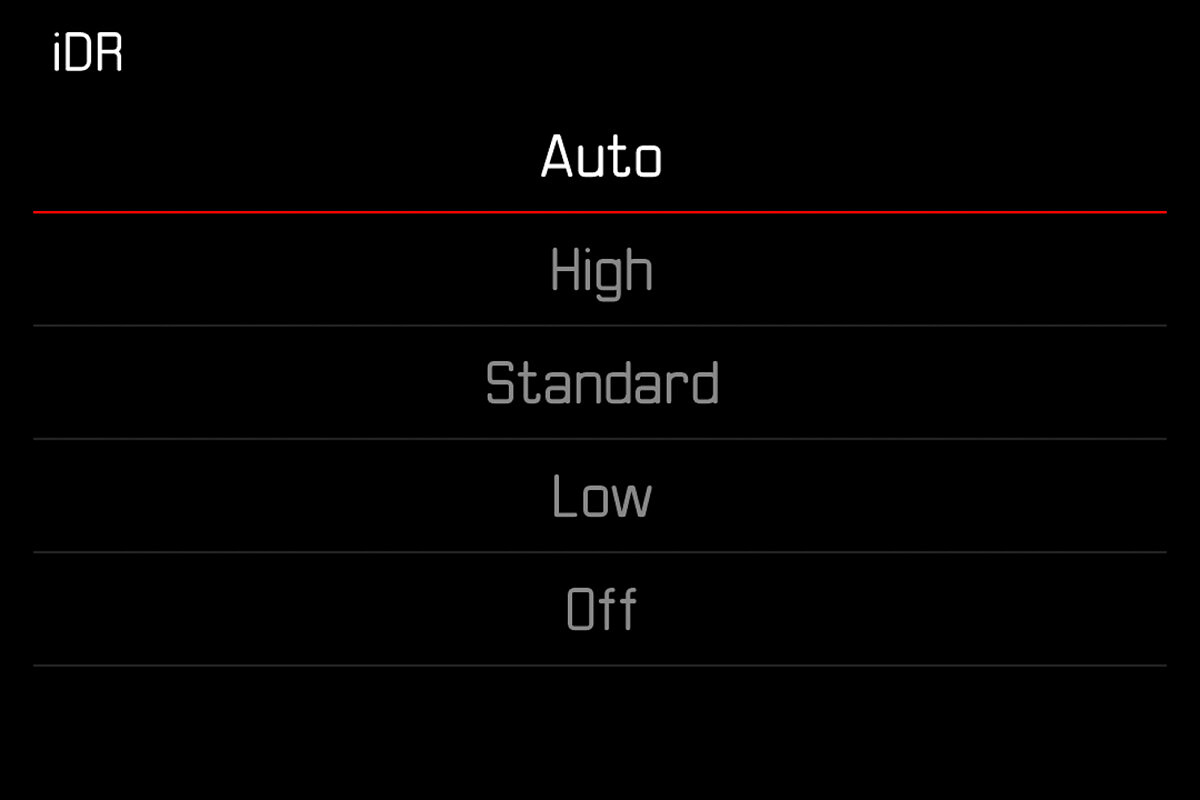
Dynamic-range control – iDR
The new iDR or Intelligent Dynamic Range will maximize shadow detail in JPEGs and in video captures. The setting is customizable with options for Auto, High, Standard and Low. While I'm not personally much of a JPEG shooter, this feature should prove quite useful for video applications where shooting in L-Log and grading later isn't practical or warranted. Here, iDR could be a very workable solution for high contrast scenes, or for run-and-gun in rapidly changing available light.
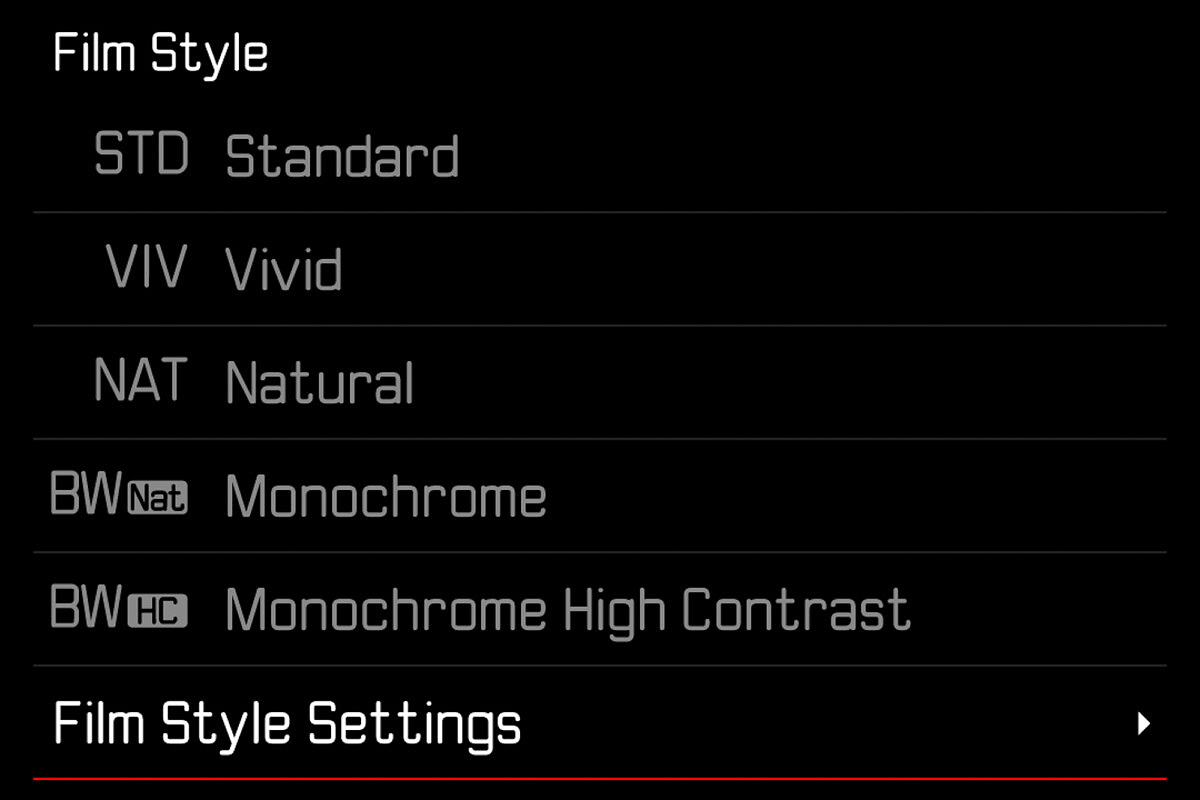
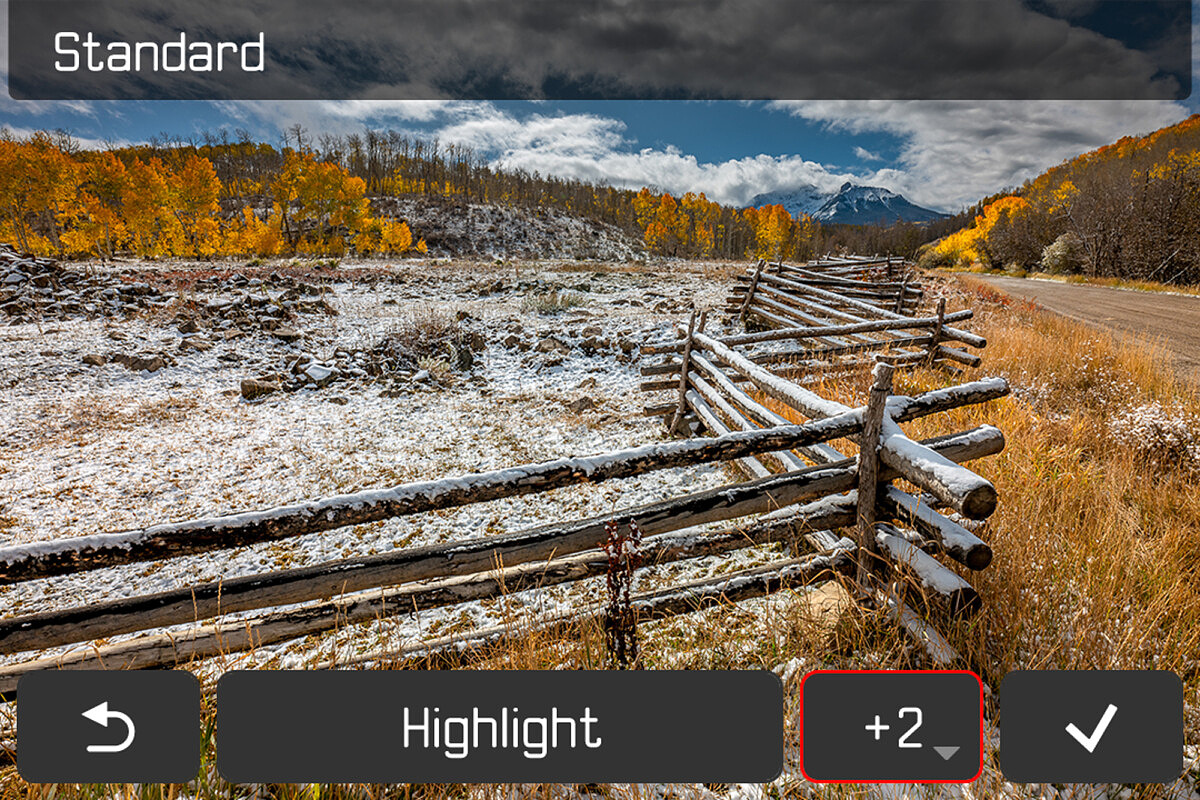
Highlight-shadow control. Precise contrast adjustment controls.
The film styles for JPEG and video shooting are even more flexible and adjustable than before, with controls for overall contrast, highlight and shadows, rather than just a global contrast setting. Just like iDR above, the new adjustments will not impact DNG files, only out of camera JPEGs and non-gamma video footage.
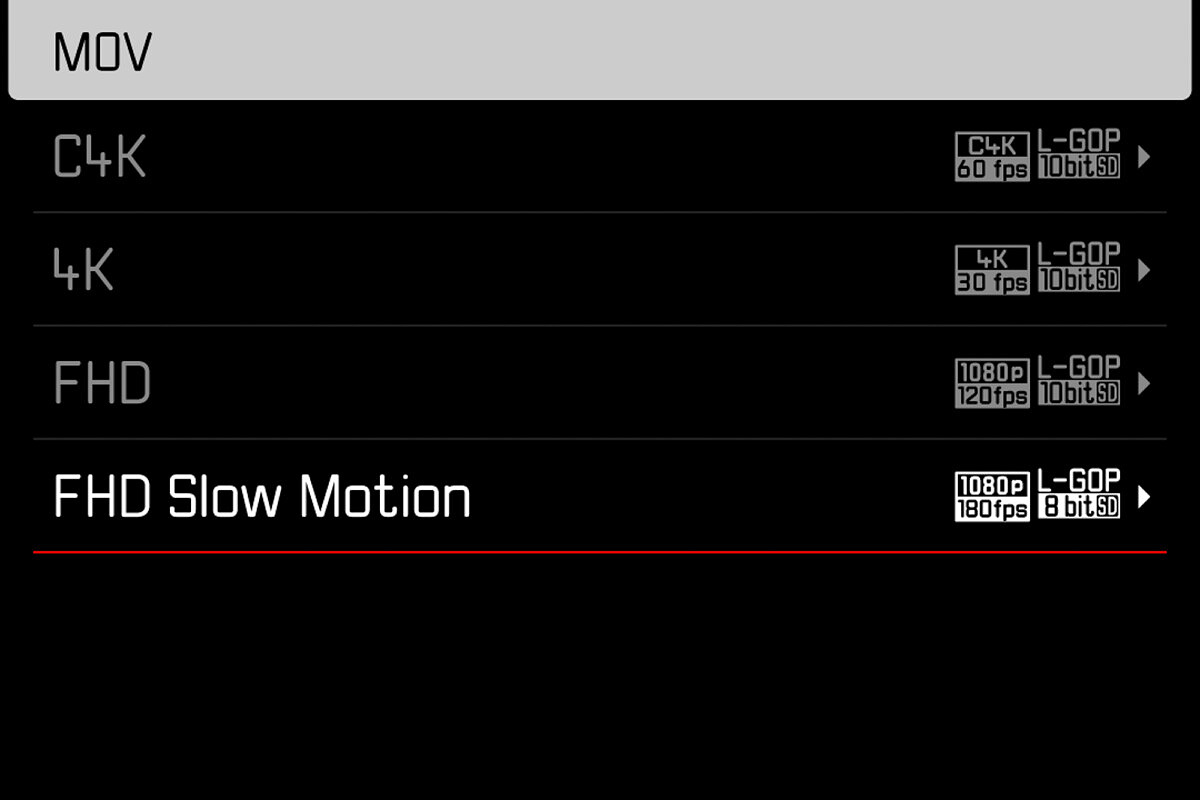
Full HD submenu for Slow Motion speeds
For easier navigation, the ultra-high speed video framerates have been moved to their own submenu. Here you'll find 100, 120, 150 and 180 fps. And yes, 100 and 120 can also be found in the regular FHD submenu.
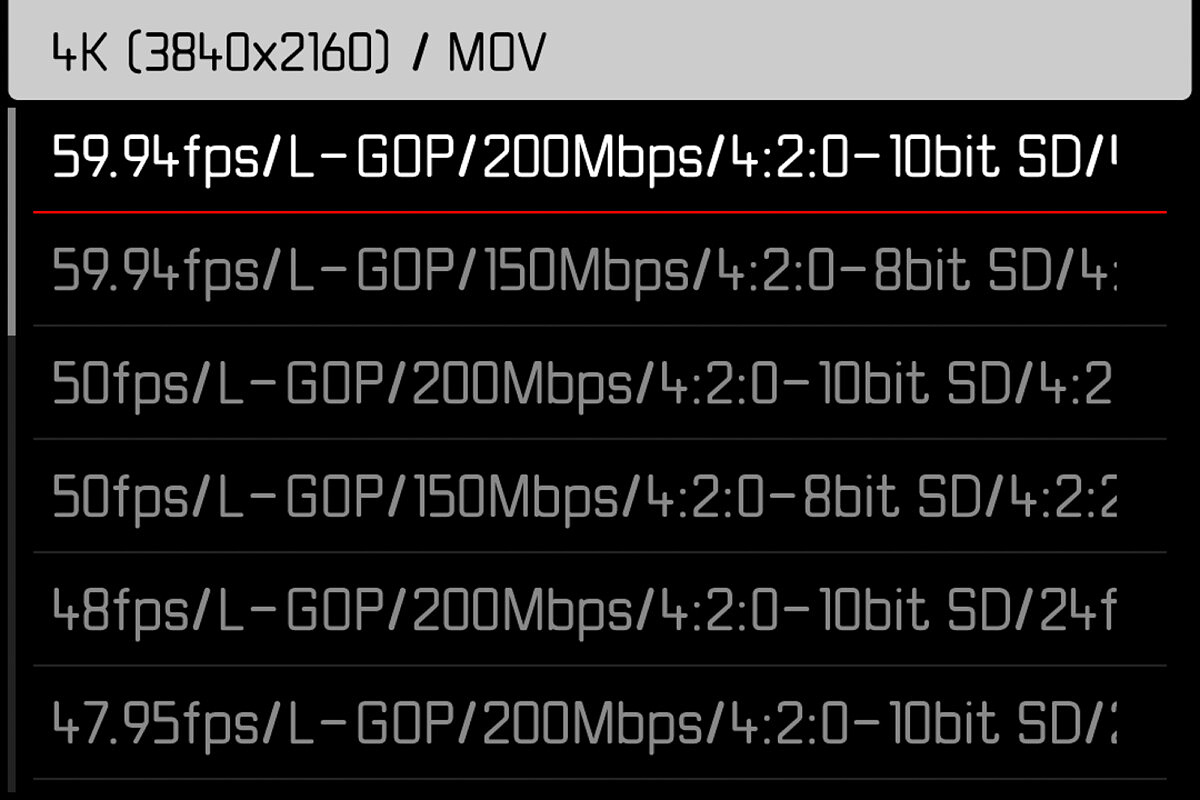
New icons for video formats
A subtle, but welcome change comes to the design of the menu on the SL2. Firmware 3.0 introduces a much more informative icon in the menu, Previously, the resolution and frame rate have been displayed, but the storage information was a little more vague, only showing MOV or H264. The new design leads with the standard video resolution and framerate and adds more information, like encoding, bit rate and whether the video is being stored internally to an SD card or externally over HDMI.
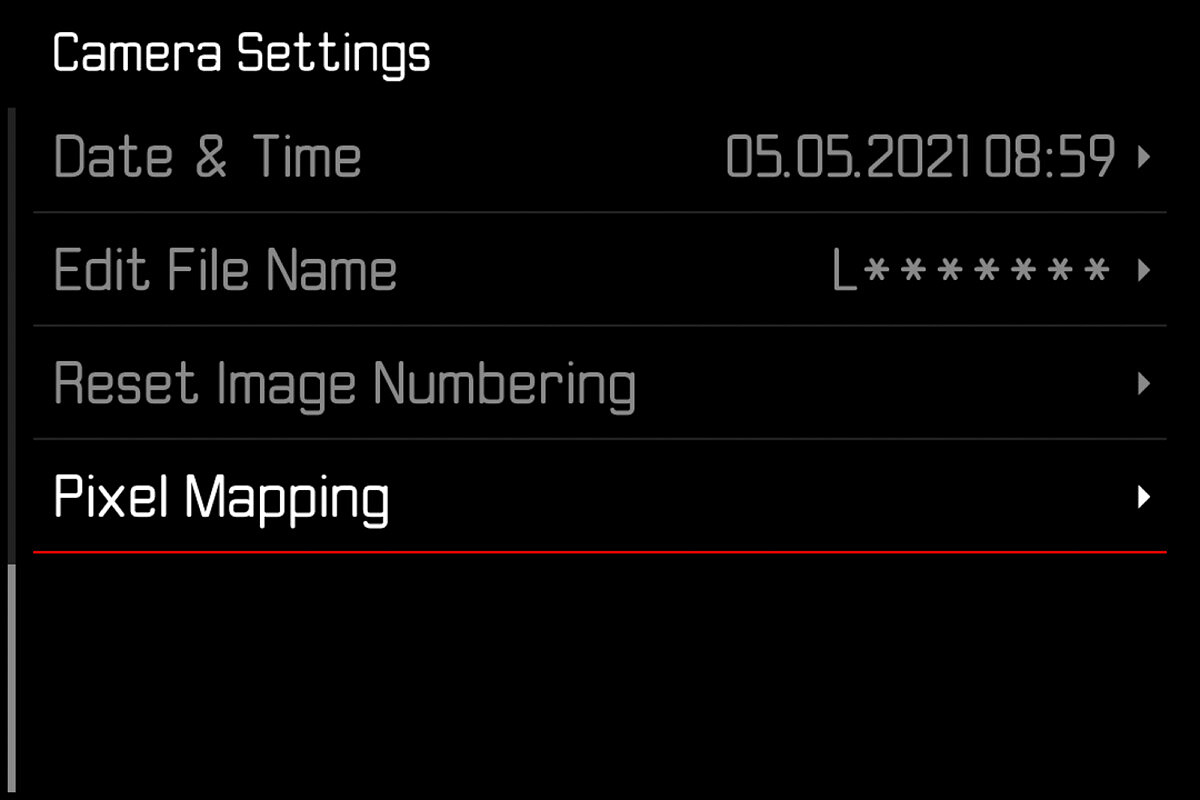
Pixel Mapping function
The Q2 and Q2 Monochrom recently received firmware updates that allow users to manually remap any hot pixels on camera sensors without sending for service. While this isn't a widespread issue by any means, it's still a nice feature to have if needed.
How to Update SL2 Firmware
PREPARATION
- Fully charge and insert the rechargeable battery
- The second SD memory card (where applicable) must be removed from the camera
- Any stored firmware files on the memory card must be removed
- We recommend saving any recordings on the memory card and reformatting it before the update. (Caution: Loss of data! All data stored on the memory card will be lost during formatting.)
- Download the latest firmware version
- Save the download to the memory card
- Store the firmware file in the main directory of the memory card (not in a sub-directory).
- Insert the memory card into the camera
- Switch the camera on
UPDATING THE CAMERA FIRMWARE
- Preparation
- Select Camera Information in the main menu
- Select Camera Firmware Version
- Select Start Update
- A prompt with information about the camera is displayed.
- Check the version information
- Select Yes
- The prompt Save profiles on SD Card? appears.
- Select Yes/No
- The update will start automatically.
- The lower status LED will flash during this process.
- Once the process has completed successfully, a relevant on-screen message and prompt to restart the device will appear on screen.
- Switch the camera off and on again
Note
Date & time, as well as the preferred language will have to be set up again after the restart. Relevant prompts will appear on screen.
How To Update Lens Firmware
If you wish to update to lens firmware v5.0, you will have to do so manually, for each SL lens.
- Preparation
- Select Camera Information in the main menu
- Select Lens Firmware Version
- Select Start Update
- A prompt with information about the camera is displayed.
- Check the version information
- Select Yes
- The update will start automatically.
- The lower status LED will flash during this process.
- Once the process has completed successfully, a relevant on-screen message and prompt to restart the device will appear on screen.
- Switch the camera off and on again
For other articles on this blog please click on Blog Archive in the column to the right
For other articles on this blog please click on Blog Archive in the column to the right
To comment or to read comments please scroll past the ads below.
All ads present items of interest to Leica owners.
_______________________________________________________________________


 Buy vintage Leica cameras from America's premier Leica specialist


Click on image to enlar Order: info@gmpphoto.comPlease make payment via PayPal to GMP Photography
Click on image to enlarge Order: info@gmpphoto.com
 Order: info@gmpphoto.com
No comments:
Post a Comment